Meta Description: Printer guide tricks make your first-time printer installation smooth and stress-free. Discover 10 smart tips to set up, connect, and print perfectly from day one.
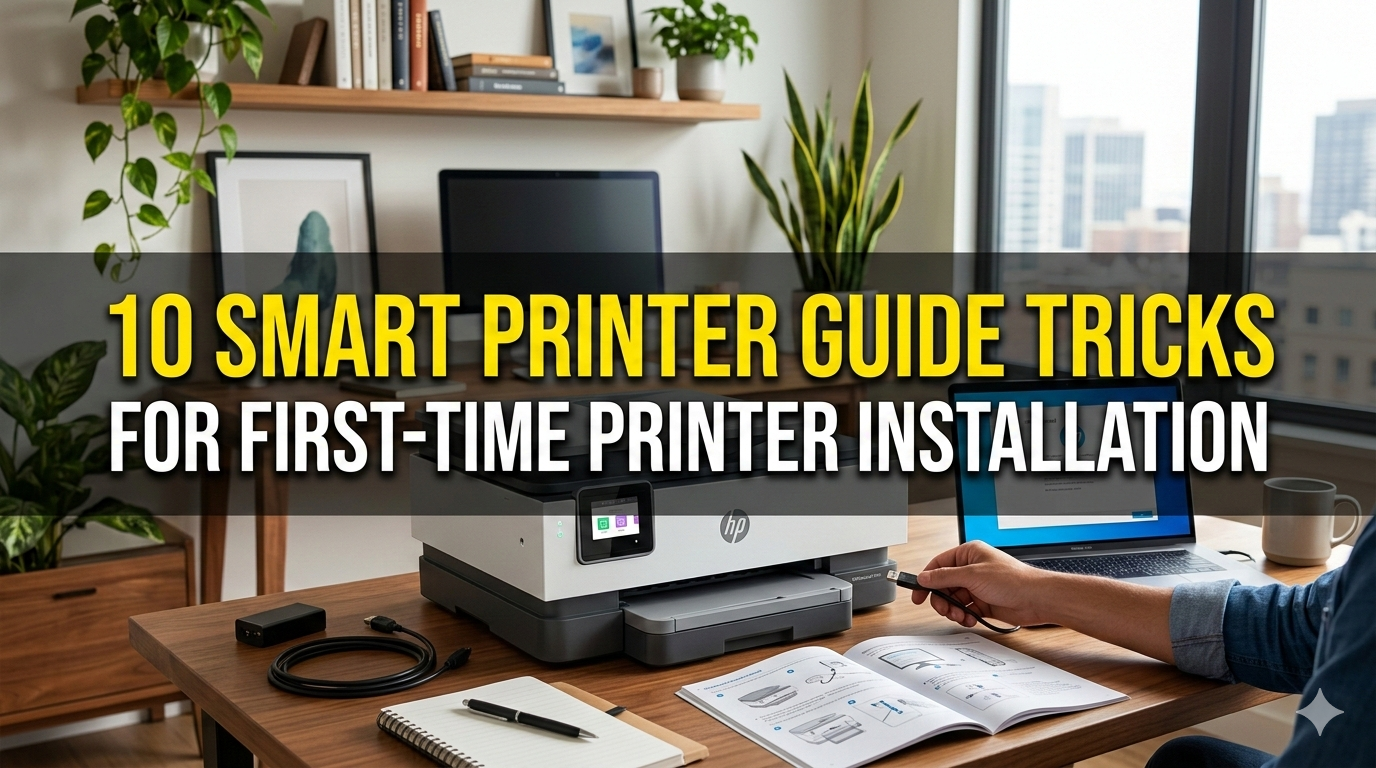
First Time Printer Installation: 10 Smart Guide Tricks
So you got yourself a new printer. You take it out of the box, plug it in and then … nothing works quite like you thought. Sound familiar?
Installing a printer for the first time can seem daunting. Wires, drivers, wireless settings — there’s a lot to come to grips with all at once. But the good news is, with the help of some printer guide tricks, everything is a lot easier.
This article guides you through 10 clever and pragmatic hacks that allow your printer installation to be fast, simple and free of frustration. These tips apply across the board, whether you’re configuring an inkjet, laser, or all-in-one printer.
Let’s get started.
Trick #1 — Read the Quick Start Guide Before Touching Anything
This sounds obvious. Most people skip it anyway.
Every printer comes with a quick start guide. It typically comes as a small booklet or folded sheet in the box. That tiny sheet contains important data relevant to your printer model.
Why it matters:
- It tells you the precise sequence of setup steps
- It tells you about common mistakes
- It indicates which cable or cartridge fits where
Not reading this guide is the top reason people get into trouble. For instance, some printers ask you to install the software and only then connect the USB cable. If you plug in first, your computer might not even recognize the printer.
Pro tip: If you threw out the guide, search the model number of your printer on the manufacturer’s website. Most brands post digital versions online, such as HP, Canon, Epson, and Brother.
Trick #2 — Choose the Right Place for Your Printer
The placement of your printer is more important than you might realize.
A bad location can lead to connectivity issues, paper jamming, and hardware damage over time.
What to Look for When Picking a Place
| Factor | What to Avoid | Best Practice |
|---|---|---|
| Surface | Uneven or wobbly tables | Flat, stable surface |
| Ventilation | Enclosed cabinets | Open area with airflow |
| Sunlight | Direct sunlight | Shaded, cool area |
| Distance from router | Far corners of the room | Within 15–20 feet for Wi-Fi |
| Cable reach | Stretched or tangled cables | Close to power and USB ports |
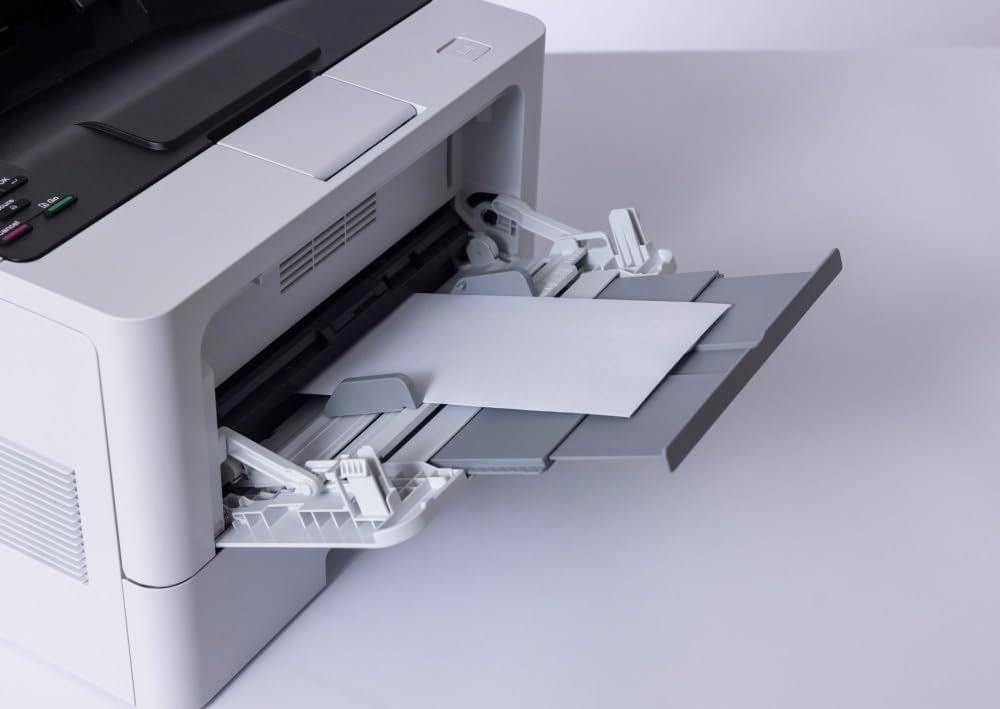
Avoid placing the printer near heat sources such as radiators or windows that are exposed to direct sunlight. Ink cartridges and internal components can be damaged by heat.
Also check that the paper tray has enough clearance in front and behind it. It’s not uncommon for people to position printers in tight areas where paper won’t feed or come out properly.
Trick #3 — Install the Correct Driver, Not Just Any Driver
A driver is a small piece of software that allows your computer to communicate with your printer. Your printer just isn’t going to work without the right driver.
That’s where many first-timers go off track. They download some random driver from a third-party website, or they allow Windows to auto-install a generic one. Generic drivers might suffice for basic printing, but they tend to skip over key features, such as double-sided printing, color settings, or scan functions.
How to get the right driver:
- Locate your printer’s exact model number (it’s on the front or bottom of the printer)
- Visit the official site of the manufacturer
- Go to their Support or Downloads page
- Enter your model number and download the full driver package
Always get the latest drivers from the brand’s official site. Third-party driver sites can bundle unwanted software or even malware.
Quick Driver Download Links by Brand
| Brand | Official Driver Page |
|---|---|
| HP | support.hp.com |
| Canon | usa.canon.com/support |
| Epson | epson.com/support |
| Brother | support.brother.com |
Trick #4 — Start by Connecting via USB, Then Switch to Wi-Fi
Wireless printing is convenient. But connecting via USB is a better idea for your initial setup.
Here’s why: When you link devices via USB, it’s direct and simple. There’s less that can go wrong. And then, once your printer is recognized by your computer and the driver has been installed properly, you go wireless.
Step-by-step approach:
- Plug the USB cable of the printer into your computer
- Let the driver install fully
- Confirm everything works by printing a test page
- Open up the wireless setup menu for your printer (typically on the display screen of the printer itself)
- Connect to your Wi-Fi network
- Disconnect the USB cable
- Change the settings on your computer to use the wireless printer
This two-step process avoids a lot of hassles. If the wireless setup fails later, you’ll at least know the printer itself is operating properly.
Trick #5 — Nail the Wireless Setup Right the First Time
Once you’re ready to cut the cord, there are some smart steps that will save hours of troubleshooting.
Top Mistakes to Avoid When Setting Up Your Wi-Fi
Mistake #1: Joining the wrong network Many homes have two Wi-Fi bands — 2.4 GHz and 5 GHz. Most printers only support the 2.4 GHz band. If your phone or laptop displays two network names (for example, “HomeWiFi” and “HomeWiFi_5G”), ensure you’re connecting the printer to the 2.4 GHz version.
Mistake #2: Incorrectly entering the Wi-Fi password Wi-Fi passwords are case-sensitive. One letter wrong means no connection. Double-check every character before confirming.
Mistake #3: Printer is too far from the router Walls, floors, and other electronics can dampen Wi-Fi signals. If your printer is more than 20–25 feet from your router (especially with walls in between), the signal may be too weak to maintain a stable connection.
Mistake #4: Router has special security settings Some routers have MAC address filtering or advanced firewall settings that block new devices from joining the network. If the printer continues to not connect, check your router’s admin panel.
Trick #6 — Install Ink Cartridges the Right Way
Installing incompatible or incorrectly fitted cartridges is one of the most common missteps for a first-time printer buyer. And it can lead to serious trouble — including irreversible damage to the print head.
Follow these rules every time:
- Do not insert a cartridge with protective tape or plastic covers still on
- Align each cartridge to the appropriate slot
- Insert each cartridge firmly until it clicks in place
- Never touch the copper contact strips or the ink nozzles
- Do not shake cartridges — it does nothing and can create leaks
Most printers will prompt you to perform an alignment or calibration print after installing cartridges. Do it. This step will prepare your print head for clean and accurate printing.
Ink Cartridge Color Slot Guide (Standard Setup)
| Position | Slot | Color |
|---|---|---|
| 1 | Far left | Black (K) |
| 2 | Center-left | Cyan (C) |
| 3 | Center-right | Magenta (M) |
| 4 | Far right | Yellow (Y) |
Printer slot positions may vary by model. Always check your printer’s diagram.
Trick #7 — Run a Test Print Before Calling It Done
No matter what, do not assume your printer is fully set up until you’ve printed a test page.
A test print checks many things at once:
- Driver installation is complete and working
- Ink cartridges are being recognized and printing correctly
- Paper is feeding properly
- Color and text quality looks clean and sharp
- Wireless or USB connection is stable
How to print a test page on Windows:
- Go to Settings > Devices > Printers & Scanners
- Click on your printer
- Select Manage > Print a test page
How to print a test page on Mac:
- Go to System Settings > Printers & Scanners
- Click on your printer
- Select Open Print Queue > Printer > Print Test Page
You can also print a test page directly from the control panel of the printer — look in your model’s menu options for this.
If you find streaks, missing colors, or smudging on the test page, run the printer’s built-in “Print Head Cleaning” function before concluding there’s a bigger problem.
Trick #8 — Set Your Default Printer to Avoid Confusion
Here’s one small but effective trick that a lot of first-timers forget: make your new printer the default.
Otherwise, your computer may still be attempting to send documents to an old printer, a virtual PDF printer, or a printer you haven’t even set up. That can lead to confusion — you hit “Print,” nothing prints, and you don’t know why.
Set default printer on Windows:
- Navigate to Settings > Bluetooth & Devices > Printers & Scanners
- Turn off “Let Windows manage my default printer”
- Click on your printer and select Set as default
Set default printer on Mac:
- Go to System Settings > Printers & Scanners
- In the “Default Printer” dropdown, choose your new printer
This small step avoids a lot of recurring frustration later on.
Trick #9 — Update Firmware Right After Setup
Firmware is like the operating system inside your printer. Manufacturers regularly release firmware updates to fix bugs, enhance performance, and patch security vulnerabilities.
Most people never bother updating their printer’s firmware. That’s a mistake — particularly right after a new installation.
Why firmware updates matter:
- Fix connection errors that affect new printers
- Improve ink efficiency and print quality
- Patch vulnerabilities that hackers could exploit on networked printers
- Add compatibility with more recent operating systems
How to update firmware:
Most modern printers have an update option built into the settings menu. Look for something like:
Settings > Tools > Printer Updates > Check for Updates
You can also update firmware via the printer’s companion app (such as HP Smart, Epson Connect, or Canon PRINT).
Certain printers update automatically when connected to Wi-Fi. Even so, it’s worth doing a manual check after your initial setup to ensure you have the latest version.
Trick #10 — Get Familiar With the Printer’s App or Software Suite
All of the major printer brands have a companion app or software suite. These tools are more powerful than many people realize.
If you skip the app, you’re missing out on features that make printing easier and smarter.
What Printer Apps Can Do
| Feature | Benefit |
|---|---|
| Ink level alerts | Know when to replace before you run out |
| Remote printing | Print from anywhere via your smartphone |
| Scan to email/cloud | Send scans directly to Google Drive or email |
| Scheduled maintenance | Keep the print head clean automatically |
| Paper size & quality settings | Improve output with the right paper settings |
| Firmware update notifications | Never miss a critical update |
Popular printer apps:
- HP Smart — Available on Windows, Mac, iOS, and Android
- Epson Smart Panel — Full scan and print management
- Canon PRINT Inkjet/SELPHY — Great for printing photos
- Brother iPrint&Scan — Simple interface for all Brother devices
Download your brand’s official app from the App Store, Google Play, or the manufacturer’s website. Install it right after your printer installation for a hassle-free experience.
If you ever run into setup issues even after following these steps, Printer Troubleshoot Guide is a great resource for step-by-step fixes and printer-specific troubleshooting advice.
Bonus: Quick Printer Setup Checklist
Use this checklist whenever you configure a new printer:
- ✅ Read the quick start guide
- ✅ Select a flat location in a well-ventilated area
- ✅ Install the proper driver from the official website
- ✅ Set up over USB, then switch to Wi-Fi
- ✅ Connect to the 2.4 GHz Wi-Fi band (not the 5 GHz)
- ✅ Properly install ink cartridges (remove all protective tape)
- ✅ Run a test print
- ✅ Set as default printer
- ✅ Update firmware
- ✅ Download and install the official app from your printer brand
Most Common First-Time Printer Problems (And Quick Fixes)
Even with a perfect setup, things can go wrong. Here’s a handy reference for the most common issues:
| Problem | Likely Cause | Quick Fix |
|---|---|---|
| Printer not detected | Wrong driver or USB order | Reinstall driver; connect USB after software install |
| Wi-Fi not connecting | Wrong band or weak signal | Switch to 2.4 GHz; move printer closer to router |
| Streaky prints | Air in ink lines or dirty head | Run print head cleaning from settings |
| Paper jams | Overfilled or misaligned tray | Remove excess paper; realign edges of paper |
| Printer offline message | Connection dropped | Restart printer and router; check default setting |
| Colors look wrong | Wrong paper profile or low ink | Check ink levels; adjust paper type in settings |
For a deeper dive into any of these issues, the official HP support page is one of the most comprehensive troubleshooting resources available online, and many of the fixes apply to other printer brands too.
FAQs — Printer Installation Guide Tricks for New Users
Q1. Must I install the software prior to plugging in the USB cable?
Yes, this is essential for many printers. If the USB is connected before installing the driver, an incorrect driver may be installed automatically. Always follow the order from your quick start guide.
Q2. My printer connects to Wi-Fi, but it says “offline” on my computer. What’s wrong?
This typically occurs when your computer has not been configured to use the correct connection or printer. Go to your printer settings, check that it is set as default, and right-click the printer icon to set it to “Use Printer Online.”
Q3. Can I use third-party ink cartridges in my brand-new printer?
You can, but it’s not recommended for an initial setup. Error messages or inconsistent print quality are sometimes caused by using third-party cartridges. Make sure everything is working properly by using official cartridges during your first setup. After that, it’s up to you.
Q4. How do I check if my printer driver is current?
Open the printer software on your computer or check your printer manufacturer’s website and compare the version with what you have installed. Most printer apps also include an “Update” or “Check for Updates” option in their settings.
Q5. Why does my new printer print at a sluggish speed?
Slow printing during setup is often due to the printer carrying out an initial calibration or charging the ink system. This is normal. If it remains slow after that, check the print quality setting — “High Quality” mode prints more slowly than “Standard” or “Draft” mode.
Q6. What is the difference between a printer driver and printer firmware?
A driver is software installed on your computer that allows the computer to communicate with the printer. Firmware is software embedded in the printer itself that controls how the printer behaves. Both need regular updating for optimal performance.
Q7. Is it safe to connect my printer to my home Wi-Fi network?
Yes, though it is wise to keep your firmware updated. Wi-Fi connected printers can be vulnerable to security issues if the firmware is not up to date. Keeping your printer updated and operating on a secure, password-protected Wi-Fi network keeps things safe.
Wrapping It All Up
Installing a printer for the first time needn’t be a headache.
Now you know exactly how to unbox, connect, configure, and test your printer like a pro with these 10 smart printer guide tricks. From choosing the right location to updating firmware and setting up the companion app — every step matters.
The biggest takeaway? Don’t rush. Follow the steps in order, stick to official software, and do a test print before you call it done. Investing a few extra minutes at the outset will save you hours of troubleshooting later.
Your printer is ready. Now go print something.