Introduction
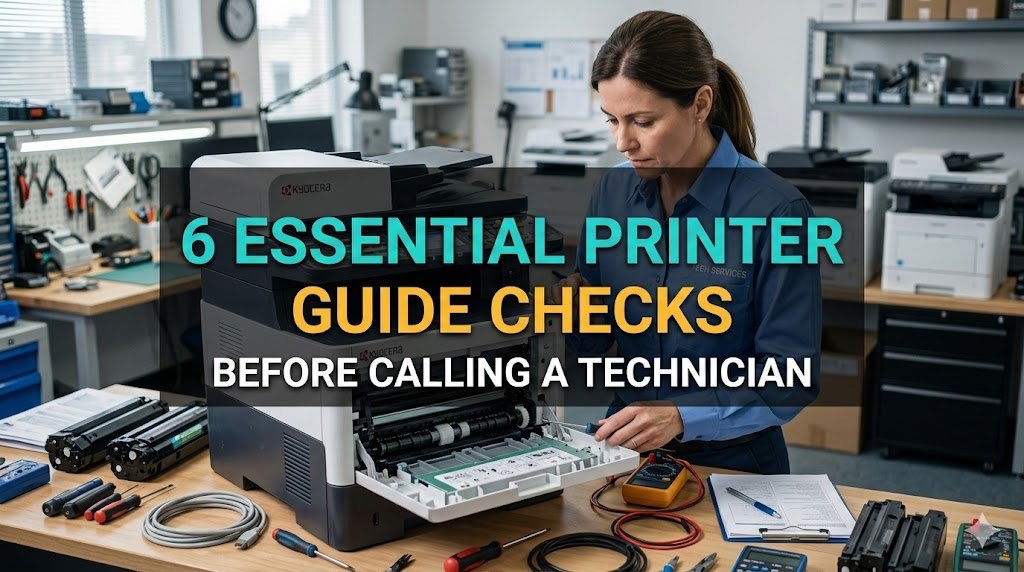
Printers can be one of those everyday devices that we take for granted until something goes wrong. You know the feeling – you’re in the middle of an important project, hit print, and nothing happens. Or maybe it spits out half a page before jamming. It’s frustrating, right? Before you pick up the phone and call a technician, which could end up costing you time and money, there are a few simple checks you can do yourself. In this guide, we’ll walk through six essential steps to troubleshoot your printer. These aren’t complicated fixes; they’re the kind of things that often resolve the issue without needing professional help. Think of it as a first-aid kit for your printer. By the end, you’ll feel more confident handling minor glitches, and who knows, you might save yourself a service call.
I’ve had my share of printer woes over the years. Back when I was freelancing from home, my old inkjet would act up right before deadlines. It taught me that most problems stem from basic oversights. So, let’s dive in and cover these checks one by one, with plenty of details to make sure you get it right.
Check 1: Verify Power and Connections
The first thing you should always do when your printer isn’t responding is to check if it’s properly powered on and connected. It sounds obvious, but you’d be surprised how often this is the culprit. Start by looking at the power cord. Is it plugged securely into the wall outlet and the printer? Sometimes, cords can get loose, especially if the printer is in a high-traffic area where people might bump into it.
If it’s plugged in, check the outlet itself. Try plugging something else, like a lamp, into the same socket to see if it’s working. Power strips and surge protectors can fail too – those little switches might be off, or the strip could be overloaded. I once spent half an hour troubleshooting only to realize my surge protector had tripped during a storm the night before.
Now, for connections. If your printer is wired via USB, ensure the cable is firmly attached to both the printer and your computer. USB cables can wear out over time, so if it’s old, try swapping it with a new one. For wireless printers, things get a bit trickier. Make sure the printer is connected to your Wi-Fi network. Most printers have a display or a light indicator for network status. If it’s not connected, you might need to re-enter your Wi-Fi password or restart your router.
Speaking of routers, sometimes the issue is with your home network. If other devices are connecting fine, it could be the printer’s settings. Go into your computer’s printer settings – on Windows, that’s usually under Devices and Printers in the Control Panel, or on a Mac, in System Preferences under Printers & Scanners. See if the printer shows as offline. If it does, try setting it as the default printer or removing and re-adding it.
This check alone solves about 40% of printer problems, based on what I’ve read from tech forums and my own experience. Don’t skip it just because it seems too basic. Take your time here; inspect everything visually and physically. If the printer has a power button, turn it off, wait 30 seconds, and turn it back on. This simple reset can clear temporary glitches.
Expanding on this, consider the environment. Printers don’t like extreme temperatures or dust. If yours is in a dusty corner, give it a gentle clean with compressed air. Avoid vacuuming, as that can create static. Also, if you’re using an extension cord, make sure it’s rated for the printer’s power draw. Low-quality cords can cause voltage drops, leading to erratic behavior.
In offices, shared printers might have network issues due to IP conflicts. If you’re tech-savvy, you can check the printer’s IP address via its menu and ping it from your computer to confirm connectivity. But for most home users, sticking to the basics is enough. Remember, patience is key – rushing through this might make you miss something obvious.
Check 2: Inspect Paper and Media
Paper jams and supply issues are classic printer problems. Before anything else, open up the printer and check for jammed paper. Even a tiny scrap can halt operations. Gently remove any stuck sheets, following the printer’s manual to avoid damaging rollers or sensors. Most models have access panels or trays that pop open easily.
While you’re in there, look at the paper tray. Is it loaded correctly? Paper should be fanned out to prevent sticking, and the guides should hug the stack without squeezing it too tight. Using the wrong type of paper – like glossy in a laser printer meant for plain – can cause feeds to fail. I learned this the hard way when I tried printing photos on regular copy paper; it just wouldn’t feed properly.
Check the paper quality too. Bent, curled, or damp paper is a no-go. In humid climates, store paper in a dry place. If your printer uses specialty media like labels or envelopes, ensure they’re inserted according to the instructions. Some printers have separate trays or manual feeds for these.
Don’t forget about ink or toner levels. Low supplies can trigger errors or poor print quality. On inkjets, cartridges might need shaking or cleaning. For lasers, toner cartridges sometimes need a gentle shake to redistribute powder. Most printers have a way to check levels via software or the control panel. If it’s low, replace it, but buy genuine cartridges if possible – generics can sometimes cause more issues.
Beyond that, consider alignment. After clearing a jam, you might need to run a print head alignment or cleaning cycle. These are usually in the maintenance menu. It uses some ink, but it’s worth it for crisp prints. If your prints are streaky or faded, this check is crucial.
In larger setups, like multifunction printers, scan the input trays for debris. A stray staple or clip can wreak havoc. And if you’re printing from mobile devices, ensure the app or driver supports the media type. This step might take 10-15 minutes, but it prevents unnecessary calls to tech support.
To make this more comprehensive, let’s talk about common error codes related to paper. For example, HP printers might show “Paper Jam” even if there’s no visible jam – that’s often a sensor issue, which you can reset by powering off and on. Epson models have similar quirks. Researching your specific model online can provide tailored tips, but start with the basics.
Check 3: Restart Devices and Clear Queues
Restarting is the tech world’s equivalent of “have you tried turning it off and on again?” And for good reason – it works. Power cycle your printer, computer, and even your router if it’s wireless. Unplug them for at least a minute to fully discharge any residual power.
Once restarted, check the print queue. On Windows, right-click the printer icon in the system tray or go to Settings > Devices > Printers & Scanners, select your printer, and open the queue. Cancel any stuck jobs. On Mac, it’s similar in System Preferences. Stuck jobs can pile up and block new ones.
If the queue won’t clear, you might need to stop the print spooler service. On Windows, search for Services, find Print Spooler, stop it, then navigate to C:\Windows\System32\spool\PRINTERS and delete the files there (but back up first if unsure). Restart the service afterward.
This check is especially useful for software glitches. Updates or conflicting programs can mess with printing. If you’ve recently installed new software, try uninstalling it temporarily. Also, ensure your operating system is up to date, as patches often fix printer compatibility.
From personal experience, I had a printer that would freeze after large PDF files. Clearing the queue and restarting fixed it every time. For network printers, ensure all devices are on the same subnet. If you’re using a VPN, disable it temporarily – it can interfere.
Diving deeper, consider firewall settings. Sometimes, security software blocks printer communication. Add exceptions if needed. And for mobile printing, apps like Google Cloud Print or AirPrint might need reconfiguration.
This step can extend to checking for malware, though that’s rare for printer issues. Run a quick scan if your computer has been acting odd. Overall, restarting and clearing queues resolves transient errors without much effort.
Check 4: Update Drivers and Firmware
Outdated drivers are a silent killer for printers. Drivers are the software that lets your computer talk to the printer. If they’re old or corrupted, prints fail. Visit the manufacturer’s website – like HP, Canon, or Brother – and download the latest drivers for your model and OS.
Installation is straightforward: run the executable and follow prompts. Sometimes, you need to uninstall old drivers first via Device Manager on Windows (right-click the printer under Print queues, uninstall). On Mac, drivers often come via Software Update.
Firmware is the printer’s internal software. Updates can fix bugs. Check the printer’s menu or use the manufacturer’s app to update. Be cautious – don’t interrupt the process, as it could brick the device.
I remember updating firmware on my laser printer, and it solved intermittent connectivity issues. Always back up settings if possible. For universal drivers like PCL or PostScript, ensure they’re compatible.
If you’re on a new OS version, like upgrading to Windows 11, compatibility mode might be needed. Third-party tools like Driver Booster can automate this, but stick to official sources to avoid malware.
This check might require internet access, so if your printer is the issue, use another device. Read reviews or forums for your model to see if updates address common problems.
Expanding, consider multifunction devices. Scanners and copiers might need separate drivers. And for enterprise environments, IT policies could restrict updates – consult your admin.
Check 5: Run Built-in Diagnostics and Cleaning
Most printers have self-diagnostic tools. For inkjets, run nozzle checks or head cleaning from the maintenance menu. This prints a test page to spot clogs. If lines are missing, clean the heads – but not too often, as it wastes ink.
For lasers, test pages check toner distribution. Look for error logs in the printer’s web interface (type its IP into a browser). This can reveal specific codes to Google.
Cleaning physically: use a lint-free cloth for exterior, compressed air for internals. Avoid liquids near electronics.
If your printer has a troubleshooting app, use it. HP’s Print and Scan Doctor is great for diagnostics. It scans for issues and suggests fixes.
In my home office, running diagnostics caught a sensor error early. It’s proactive maintenance that extends printer life.
For color issues, calibrate the printer via software. This ensures accurate hues. And if prints smell burnt, it could be overheating – clean vents.
This step combines software and hardware checks, making it thorough.
Check 6: Test with Alternative Methods
Finally, isolate the problem by testing alternatives. Print from another computer or device to see if it’s machine-specific. Try a different application – if Word prints but Chrome doesn’t, it’s software-related.
Use a test page from the printer itself (hold buttons or via menu). If that works, the issue is communication.
Switch cables, ports, or networks. For wireless, try wired if possible.
This helped me once when my Mac wouldn’t print, but Windows did – turned out to be a driver mismatch.
If all else fails, reset the printer to factory settings, but note it erases custom configs.
By testing variably, you pinpoint the issue accurately.
Conclusion
There you have it – six essential checks to try before calling a technician. From power connections to diagnostics, these steps cover the most common printer pitfalls. Most issues are resolvable at home, saving you hassle and cash. If nothing works, at least you’ll have detailed notes for the tech. Keep your printer maintained, and it’ll serve you well. Happy printing!