Meta Description: Printer guide cleaning tricks can transform your print quality instantly. Discover 6 essential methods to clean printer guides, prevent smudges, and extend your printer’s life.
6 Essential Printer Guide Cleaning Tricks for Better Print Quality
Have you ever pulled out a fresh page of paper from your printer, only to find that it is streaked or smeared with ink? That can be frustrating — particularly when you need clean, professional-looking results. The problem usually isn’t the ink or the paper. It’s the printer guides.
Printer guides are the small rails, rollers and tracks inside your printer used to transport paper through the machine. Dust, ink residue, and debris accumulate on these components over time. And when that happens, your print quality is compromised.
The good news? There’s no need to call a tech or replace your printer. A few clever printer guide cleaning tricks might revive your machine. In this article, we’ll cover six of the easiest, cheapest and most effective methods.
Let’s get started.
What Is a Printer Guide and Why Does It Get Dirty?
Before diving into cleaning tricks, it’s helpful to know what you’re dealing with.
Printer guides are rollers for feeding the paper, tracks to guide the path of the paper, rails that keep the carriage moving linearly and alignment strips. These parts enable smooth movement of the paper inside the printer, while also stabilizing everything.
Here’s why they get dirty:
- Over time dust settles inside the printer
- The rollers are covered with a layer of paper dust from mild usage
- Ink overspray adheres to surrounding surfaces
- The oils from your skin transfer to the paper when you load it
Even a thin layer of deposits on parts can lead to paper jams, misaligned prints and faded or streaked output. Cleaning regularly takes care of all these problems.
When to Clean Your Printer Guides?
The answer depends on how much you use your printer.
| Usage Level | Recommended Cleaning Frequency |
|---|---|
| Light (less than 50 pages/month) | Every 3–4 months |
| Moderate (50–200 pages/month) | Every 1–2 months |
| Heavy (200+ pages/month) | Every 2–3 weeks |
| After a paper jam | Immediately |
| After long period of non-use | Before next use |
Even if you hardly print, dust will build up. Schedule a reminder so it becomes a habit instead of an afterthought.
What You Need Before Getting Started
Get these supplies before you try any of the six tricks below. You probably already have many of these items lying around your house.
- Lint-free cloths or microfiber cloths
- Isopropyl alcohol (90% or higher)
- Cotton swabs
- Compressed air canister
- Distilled water
- Mild dish soap (optional)
- Rubber gloves
- A torch (for looking inside the printer)
- Soft-bristle brush (such as a small paintbrush)
Skip the paper towels if you can. They leave little pieces of fiber that cause problems.
Safety tip: Make sure to turn off and unplug your printer before performing any cleaning. Allow 5–10 minutes for any moving parts to come to a complete halt.
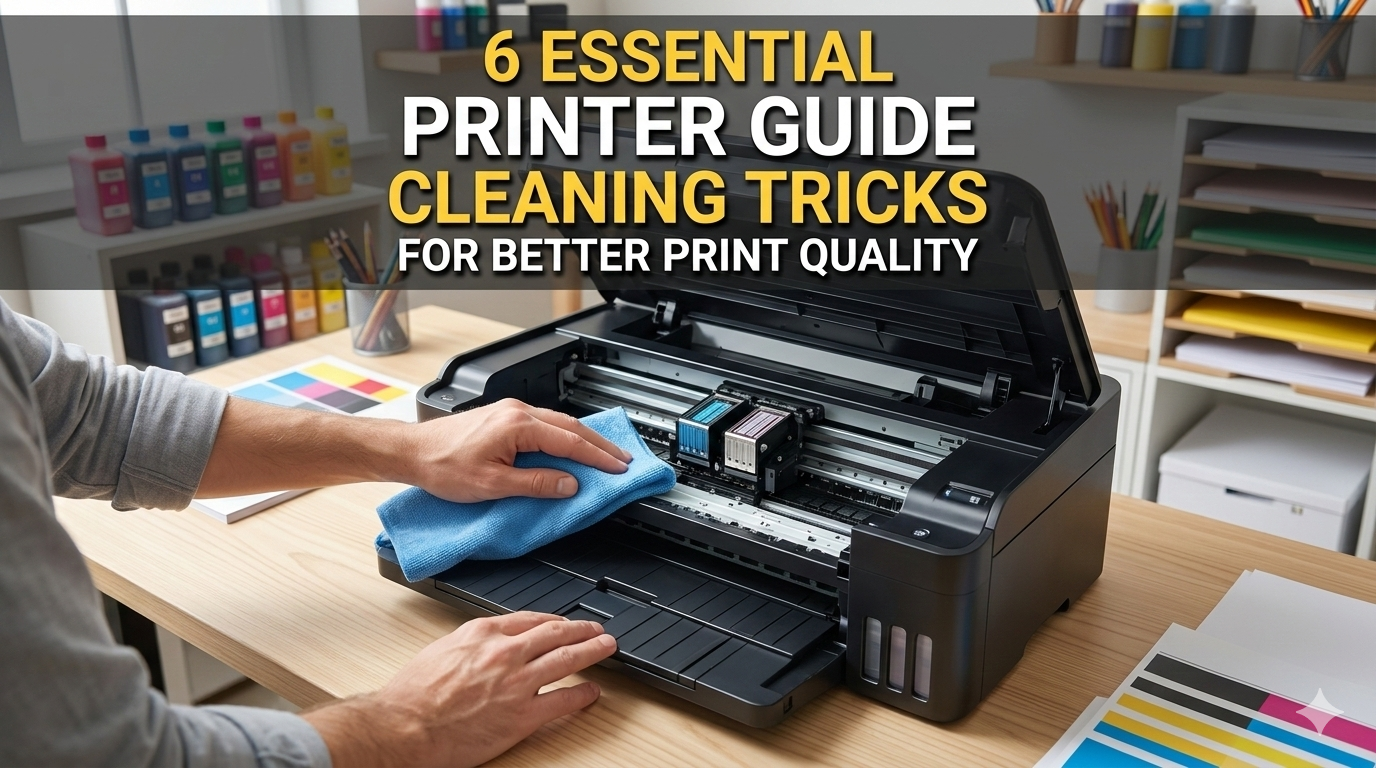
Trick #1 — The Air Flush Method
This is the fastest and most beginner-friendly printer guide cleaning trick. It’s especially effective at removing dust and loose debris before you get your hands dirty.
How to Do It
- Power off and unplug the printer.
- Open all access panels — the front tray, rear tray and top cover (if applicable).
- Hold the compressed air canister vertically, 4–6 inches from the surface.
- Spray in short, controlled bursts into the paper path and along the guide rails.
- Work from the back of the printer to the front, pushing debris out rather than deeper into it.
- Allow any dislodged dust to settle for 2–3 minutes, then wipe away visible particles using a dry microfiber cloth.
Why It Works
Compressed air gets into tight corners that your hands can’t reach. It loosens caked-on dust from rollers and guide tracks without any moisture, so there’s no risk of getting electrical components wet.
Pro Tips
- Never tilt the canister — it might spray liquid propellant instead of air
- Don’t use a household hair dryer as a substitute — it only pushes debris further in
- Do this step first, before any wet cleaning method
Trick #2 — The Isopropyl Alcohol Roller Wipe
Paper feed rollers are one of the most common problem areas. When dirty, they grip paper unevenly. This results in paper jams and skewed prints. This trick cleans them thoroughly.
How to Do It
- Dampen a lint-free cloth or cotton swab with isopropyl alcohol (90% or higher).
- Open the paper tray and locate the feed rollers. They resemble tiny rubber wheels.
- Gently press the cloth or swab against the roller surface.
- Slowly rotate the roller by hand while keeping the cloth pressed against it.
- Work your way around the entire circumference of each roller.
- Continue with a clean section of cloth until there’s no more brown or gray residue.
- Air-dry the rollers before loading paper (roughly 10–15 minutes).
Why Isopropyl Alcohol?
It dissolves ink residue and oils without damaging rubber. It also evaporates quickly, so the risk of moisture damage is minimal. Avoid using water here — it can cause the rubber to swell or crack over time.
Signs Your Rollers Need This Treatment
- Paper feeds at an angle
- Frequent paper jams in the same spot
- Prints look skewed or off-center
- Printer makes grabbing or slipping sounds
Trick #3 — The Cotton Swab Detail Clean
Some parts of the printer guide system are too small for a cloth. That’s where cotton swabs shine. This trick is perfect for reaching narrow gaps, corners and small tracks that collect ink buildup.
Where to Focus
| Area to Clean | Tool to Use | What to Look For |
|---|---|---|
| Carriage rail (where ink cartridge moves) | Cotton swab + alcohol | Black grease buildup |
| Encoder strip (clear plastic strip near carriage) | Dry cotton swab only | Ink dots or smearing |
| Paper path edges | Cotton swab + alcohol | Brown residue or dried ink |
| Sensor windows | Dry cotton swab | Dust or ink film |
How to Do It
- Dip a cotton swab lightly in isopropyl alcohol.
- Run it slowly along the carriage rail, rotating as you go to collect grime.
- For the encoder strip (the thin, clear plastic strip that helps your printer determine where the cartridge is), use a dry swab only. Ink on this strip causes misalignment errors.
- Replace swabs frequently — a dirty swab just moves residue around.
- Close the printer only after everything is completely dry.
Warning Signs in These Areas
If your printer produces prints with colors shifted slightly to one side, the encoder strip likely has smudges. A dry cotton swab fix often resolves this in minutes.
Trick #4 — Paper Guides Deep Clean Using Warm Water and Cloth
The paper guides are the plastic or metal channels that direct paper into the printer in a straight line. When paper dust and ink film build up on these, the paper no longer feeds correctly.
This trick doesn’t require anything fancy — just distilled water and a soft cloth.
How to Do It
- Remove all paper from the input and output trays.
- Dampen (not soak) a lint-free cloth with distilled water.
- Wipe along each paper guide rail from one end to the other in a single stroke.
- Flip the cloth and do a second pass to pick up loosened residue.
- For stubborn spots, add a tiny drop of mild dish soap to the cloth, scrub gently, then follow up with a clean damp cloth to remove any soap film.
- Dry the area with a clean, dry cloth.
- Leave the trays open for 15–20 minutes before loading paper again.
Why Distilled Water?
Tap water contains minerals that leave deposits on printer surfaces. Distilled water leaves nothing behind.
For more detailed help with common printer issues, visit Printer Troubleshoot Guide — a helpful resource covering a wide range of printer problems and fixes.
Before and After Comparison
Before cleaning: Paper feeds at a slight angle, prints have a consistent skew, page margins are uneven.
After cleaning: Paper loads straight, print margins align correctly, no more pulling to one side.
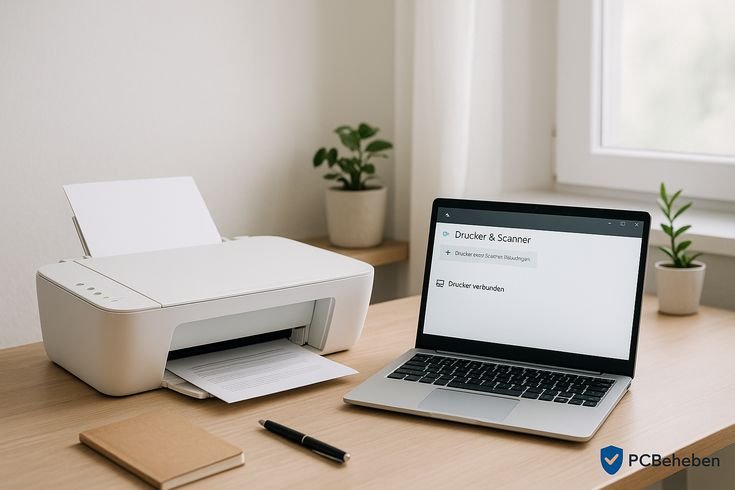
Trick #5 — Run the Built-In Printer Cleaning Utility
Most modern printers come with a built-in software cleaning tool that you might not even know about. This trick is often overlooked but can drastically improve print quality without ever opening the printer.
How to Find It
On Windows:
- Go to Control Panel → Devices and Printers
- Right-click your printer → Printing Preferences
- Look for a “Maintenance,” “Utilities,” or “Tools” tab
- Run “Print Head Cleaning” or “Nozzle Check”
On Mac:
- Go to System Settings → Printers & Scanners
- Click your printer → Options & Supplies
- Open the “Utility” tab
- Click “Open Printer Utility” → Run cleaning cycle
On the Printer’s Control Panel: Many printers have this option directly on their screen. Look for Settings → Maintenance → Head Cleaning or Guide Cleaning.
What It Does
The utility forces ink through the nozzles to clear clogs and runs a self-check on alignment. Some printers also clean the paper path internally using a built-in wiper.
According to HP’s official printer maintenance guide, running regular cleaning cycles and nozzle checks is one of the most effective ways to maintain consistent print quality over time.
How Often to Run It
| Situation | Action |
|---|---|
| Print looks faded or streaky | Run cleaning cycle once |
| Nozzle check shows gaps | Run cleaning 2–3 times with test prints in between |
| Printer sits unused for 2+ weeks | Run cleaning cycle before first print |
| After replacing ink cartridges | Run alignment + nozzle check |
Note: Each cleaning cycle uses a small amount of ink. Don’t run it more than 3 times in a row — if the problem persists after three cycles, move to a physical cleaning method.
Trick #6 — The Preventive Maintenance Routine
The best printer guide cleaning trick isn’t reactive — it’s preventive. Setting up a simple maintenance routine means you’ll rarely deal with print quality problems in the first place.
Build Your Routine Around These Five Habits
1. Use your printer at least once a week Ink in inkjet printers dries out when left unused. Running even one test page weekly keeps the ink flowing and prevents guide buildup from hardening.
2. Fan paper before loading Paper sheets stick together slightly, especially in humid environments. Fanning them before loading prevents double feeds, which damage guide rails over time.
3. Store paper properly Keep paper in a sealed bag or airtight container. Damp paper leaves more residue on rollers and guides.
4. Keep the printer covered when not in use A simple cloth cover or the printer’s built-in cover keeps dust off the internal guides. Dust is the number one cause of guide contamination.
5. Run a monthly visual inspection Once a month, open your printer’s panels and shine a flashlight inside. Look for:
- Visible dust on rollers
- Ink smears on the paper path
- Any loose paper scraps or debris
Catch it early, and a quick compressed air blast is all you need.
Preventive Maintenance Schedule
| Task | Frequency |
|---|---|
| Print a test page | Weekly |
| Fan paper before loading | Every load |
| Wipe exterior with dry cloth | Weekly |
| Run software cleaning utility | Monthly |
| Physical roller wipe (isopropyl) | Every 1–2 months |
| Full internal cleaning session | Every 3–4 months |
| Professional servicing | Once a year (heavy users) |
Common Printer Guide Problems and What Causes Them
Use this quick reference to match your print quality symptoms to the likely cause — and the right cleaning trick to fix it.
| Symptom | Likely Cause | Best Trick to Apply |
|---|---|---|
| Streaks across the page | Dirty rollers or clogged nozzles | Trick #2 + Trick #5 |
| Paper jams repeatedly | Worn or dirty feed rollers | Trick #2 |
| Prints come out skewed | Dirty paper guides | Trick #4 |
| Color shift on one side | Smudged encoder strip | Trick #3 |
| Faded print | Clogged nozzles + dirty guides | Trick #5 + Trick #1 |
| Ink smearing on paper | Wet ink + dirty output guides | Trick #4 + let ink dry longer |
| Double feeds (two pages at once) | Worn separator pad + dirty rollers | Trick #2 + fan paper |
Mistakes to Avoid When Cleaning Printer Guides
Knowing what not to do is just as important as knowing the right tricks.
- Don’t use regular household cleaners. Products like Windex, Lysol, or bleach-based sprays can damage rubber rollers and corrode metal guides.
- Don’t spray anything directly into the printer. Always apply liquids to a cloth or swab first.
- Don’t over-saturate cloth or swabs. Excess liquid can drip onto circuit boards and cause permanent damage.
- Don’t clean the encoder strip with alcohol. It’s delicate — use only a dry swab.
- Don’t force rollers to spin. Let them move naturally while cleaning. Forcing them can tear or crack the rubber.
- Don’t skip the drying time. Loading paper too soon can transfer moisture back into the guides and create new smudges.
FAQs About Printer Guide Cleaning
Q: Can I use rubbing alcohol instead of isopropyl alcohol? Rubbing alcohol typically consists of 70% isopropyl alcohol combined with water and additives. It does work, but 90%+ isopropyl works better because it evaporates faster and leaves no residue. If you can’t find 90%, 70% rubbing alcohol works as a backup — just allow extra drying time.
Q: My printer still has streaks after cleaning. What now? Run the built-in nozzle cleaning utility two or three times and print test pages after each cycle. If streaks persist, the ink cartridge or print head might be worn out and need replacement.
Q: Is it safe to clean inside the printer myself? Yes, as long as the printer is unplugged and you use the right tools. Avoid touching electrical components, and never spray liquids directly inside the machine.
Q: How do I know if my printer guides are misaligned vs. just dirty? Print an alignment test page (found in your printer’s maintenance settings). If lines appear curved or offset, it’s a misalignment issue — run the alignment utility. If the lines are straight but smudged or streaky, it’s a dirt issue — use the cleaning tricks above.
Q: Will cleaning the guides void my printer warranty? External cleaning using manufacturer-approved methods typically doesn’t void warranties. However, opening sealed internal compartments or disassembling parts not meant for user access could. Check your printer’s manual to be sure.
Q: What type of cloth is best for cleaning printer guides? Lint-free microfiber cloths are ideal. They pick up debris without leaving fibers behind. Avoid paper towels, rough cloths, or anything that sheds.
Q: My laser printer has the same streaking problem. Do these tricks apply? Some do. Laser printers have different internal components (toner drums, fuser units) but still have paper feed rollers and guides that benefit from cleaning tricks #1, #2, and #4. The software utility trick (#5) also applies to most laser printers.
Conclusion
Clean printer guides make a bigger difference than most people realize. Even the best ink and paper can’t save your print quality when guides become coated with dust, ink residue, and paper fibers.
The six printer guide cleaning tricks covered in this article — compressed air flushing, isopropyl roller wiping, cotton swab detail cleaning, warm water guide cleaning, software utility runs, and preventive maintenance routines — cover every major cause of guide-related print problems.
For most of these fixes, you won’t need expensive equipment or professional help. A microfiber cloth, some isopropyl alcohol, and a compressed air canister handle the majority of issues in under 30 minutes.
Start with Trick #1 to clear loose debris, work through the physical cleaning steps, and finish by setting up the preventive routine in Trick #6. Do that consistently, and your printer will deliver sharp, clean, professional results every single time.
Your printer works hard for you. A little regular care goes a long way.