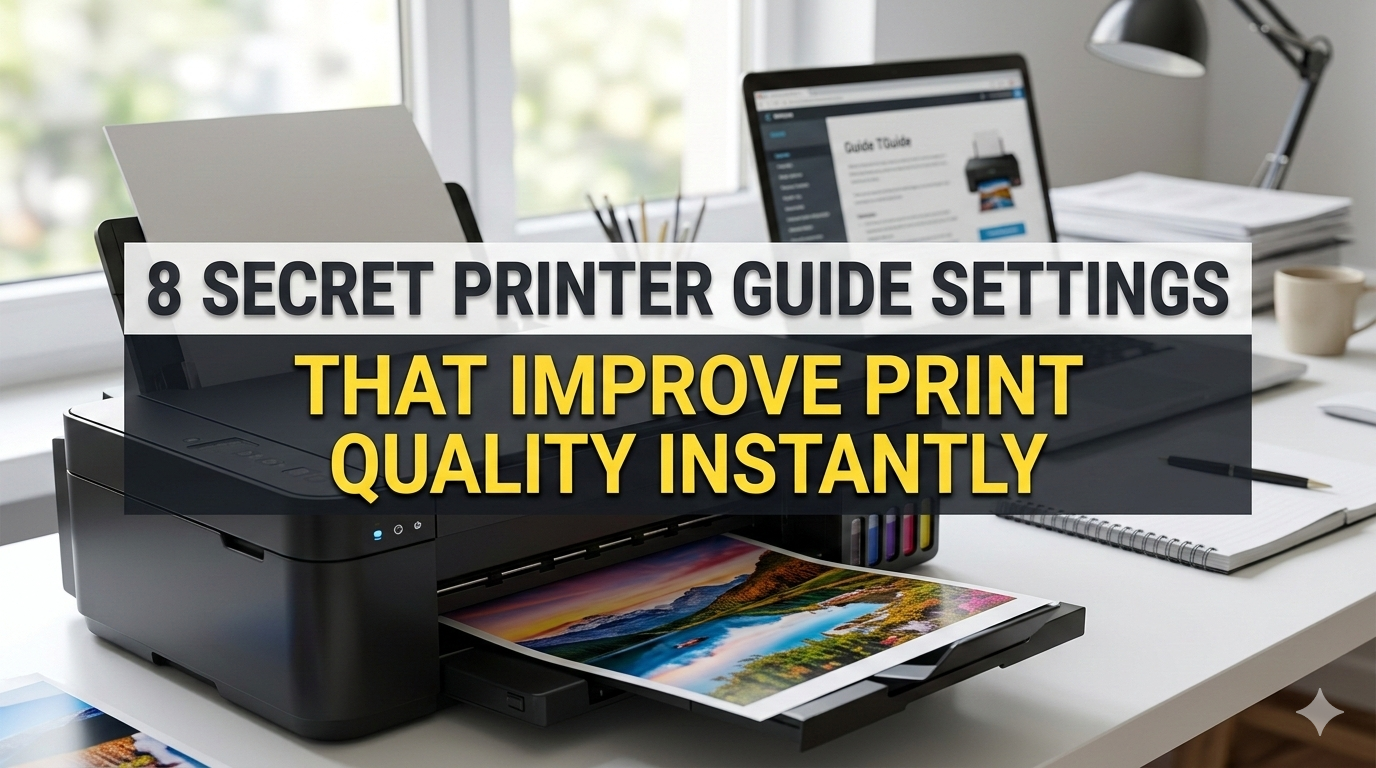
8 Secret Printer Settings to Make Your Print Quality Better Instantly
Meta Description: Printer Settings Can Transform Your Print Quality Overnight! Find eight secret settings that most people never touch — and start getting sharper, richer results today.
Your Printer Is Not All That It Can Be
You press print. You wait. You pick up the page.
And it looks… fine. Not great. Just fine.
Perhaps the colors seem a bit muted. Perhaps the wording isn’t quite as crisp. Perhaps photos will appear grainy or streaked.
The truth is, your printer can likely do a lot better. The problem isn’t the machine. It’s the settings.
In all likelihood, most people just install a printer, leave everything at default and never look back. But hidden in the software of your printer are mighty guide settings that can completely transform how your prints come out. We’re talking sharper text, richer colors, cleaner edges and photos that actually look like photos.
This article leads you through 8 hidden printer guide settings that most users have never touched — and teaches you how to leverage them for an instant improvement in print quality.
Let’s get into it.
What Are Printer Guide Settings, Anyway?
Before we get to the list, one thing needs clarification.
Printer guide settings are the controls that tell your printer how to print through your printer driver or software. Things like how much ink to use, what kind of paper you are printing on, how fast to move the print head and what color profile to follow.
Many of these options are hidden in menus labeled “Advanced,” “Preferences,” or “Properties.” Most users never open them.
That’s a mistake.
These settings make the difference between an adequate-looking print and a professional-quality print.
How to Find Your Printer Settings
Quick guide before we start:
On Windows: Control Panel → Devices and Printers → Right-click your printer → Printing Preferences
On Mac: File → Print → Click “Show Details” → Find your printer’s options panel
From the Printer App: Most printers (HP, Canon, Epson, Brother) already have their own software in place. Open that app for the fullest range of options.
Now let’s get into the good stuff.
Setting #1: Change From “Standard” to the Proper Print Quality Mode
That’s the single most impactful change that most people can make.
All printers have a print quality selector. Common options include:
| Mode | What It Does | Best For |
|---|---|---|
| Draft | Least amount of ink, fast printing | Internal notes, rough drafts |
| Standard | Balanced speed and quality | Everyday documents |
| High / Best | Uses more ink, slower printing | Photos, presentations, final copies |
| Custom | Full manual control | Advanced users |
Most people never get past the “Standard” setting — even when printing photos or client-facing documents.
The fix: Choose your print mode based on your purpose. If you’re printing a photo or report that should look sharp, switch to “High” or “Best” quality before clicking print.
Yes, it will consume more ink and time. But the difference in quality is obvious right away. Colors become deeper. Text edges get sharper. Photos look dramatically better.
Do not just go with Standard every single time. Make the choice on purpose.
Setting #2: Tell the Printer What Paper You Are Using
This one catches people by surprise every time.
Your printer doesn’t automatically know which paper you have in the tray. It assumes you are feeding in plain copy paper — unless you say otherwise.
Print on glossy photo paper and tell it “Plain Paper,” and your printer lays down the wrong amount of ink with not enough drying time. The result? Smeared colors, blotchy images and ink that never dries.
Here’s what to do:
Open your printer preferences and look for the Media Type or Paper Type option. Then choose the paper that matches what is actually in the printer.
Common paper type options include:
- Plain Paper
- Inkjet Paper
- Glossy Photo Paper
- Matte Photo Paper
- Cardstock
- Envelopes
- Transparency Film
When you choose the right paper type, the printer automatically adjusts ink volume, print speed and drying behavior for that specific surface.
This single change can reduce smearing, correct color accuracy and make photos look vibrant instead of washed out.
Setting #3: Turn On (or Off) Color Management the Right Way
Color management is something most home users are oblivious to.
But if your prints look too yellow, or too blue, or too dark, or just “off” from what you see on screen — the reason is likely color management.
What Is Color Management?
It is the system that interprets the colors on your screen and translates them into the colors your printer can reproduce. Screens use RGB (Red, Green, Blue) light. Printers use CMYK (Cyan, Magenta, Yellow, Black) ink. These are separate systems, and something has to connect them.
That “something” is a color profile.
The Two Common Options
Printer Manages Colors — Your printer uses its own built-in color profile. Good for everyday printing.
Application Manages Colors — The color conversion is done by your editing software (like Photoshop or Lightroom). Better for professional photo printing.
The problem: If your app AND your printer are both managing colors simultaneously, they interfere with one another. The result is muddy, over-saturated or oddly tinted prints.
The fix:
When printing from a photo editor, enable color management in your app and set the printer to “No Color Management.”
If you’re printing from Word, a browser or simple software, allow the printer to handle colors and don’t touch the app settings.
Pick one. Not both.
Setting #4: Adjust the Print Head Alignment
Here is a setting that most people entirely forget exists.
Your printer’s print head sprays tiny dots of ink onto paper. If the head is misaligned even slightly, those dots end up in the wrong places. The result is blurry text, color fringing on edges and photos that look mildly out of focus.
How Do You Tell If Your Print Head Is Misaligned?
Look for:
- Blurry text, even at 100% quality
- A slight shadow or color halo around dark text
- Diagonal lines that look jagged instead of smooth
How to Fix It
Almost every printer has a built-in alignment tool. Here’s how to find it:
- Open the software or app specific to your printer
- Look for Maintenance, Tools, or Utilities
- Select Print Head Alignment or Align Printer
- Follow the on-screen steps — it usually involves printing a test page and choosing the option that looks best
On many modern printers, this process is automatic. The printer prints a test pattern, scans it, and self-calibrates.
Do this every few months — or whenever you see a decline in print quality.
Setting #5: Use the Right DPI for What You Are Printing
DPI stands for Dots Per Inch. That’s how many tiny ink dots your printer places in each inch of a printout. More dots = more detail = sharper print.
But what most people don’t know is that higher DPI is not always better.
| DPI Range | Best Use |
|---|---|
| 150–300 DPI | Text documents, simple graphics |
| 300–600 DPI | Business cards, presentations, reports |
| 600–1200 DPI | High-quality photos, detailed artwork |
| 1200–2400 DPI | Professional photography, fine art prints |
Setting everything to the maximum DPI wastes ink, slows things down and can even make text look worse on plain paper since the ink spreads slightly.
The smart approach:
- For text: 300–600 DPI is ideal
- For photos on photo paper: 1200 DPI or higher
- For everyday documents: keep it at 300 DPI to save ink
DPI settings are usually found in your printer driver under “Advanced” or “Quality.” Some printers call it “Resolution” instead of DPI — same thing.
Setting #6: Calibrate Your Color Output With ICC Profiles
This one goes a step deeper — but it’s worth the effort if you print photos or design work.
An ICC profile is a file that instructs your printer on how to reproduce specific colors. Think of it as a detailed translation guide between your screen and your printer.
Most printers come with a basic ICC profile pre-installed. But paper manufacturers typically provide custom ICC profiles specific to their papers — and those are far more accurate.
Why Does This Matter?
Different papers absorb ink differently. A profile made for Canon’s glossy photo paper will not give accurate colors on Epson’s matte paper — even on the same printer.
How to Use ICC Profiles
- Download the ICC profile for your specific paper from the manufacturer’s website
- Install it on your computer (double-click on Mac; right-click → Install Profile on Windows)
- In your print settings, go to Color Management
- Select the ICC profile that matches your paper
The difference can be stunning. Skin tones look more natural. Blues stop looking purple. Shadows hold detail rather than going solid black.
This is what professional print shops do every single time.
💡 Need more help with printer issues? Visit Printer Troubleshoot Guide for step-by-step fixes, driver downloads, and expert tips for all major printer brands.
Setting #7: Turn Bidirectional Printing On — or Off
This is a trade-off, and knowing when to use it makes all the difference.
Bidirectional printing means the print head prints while moving in both directions — left to right, then right to left. This makes printing faster.
Unidirectional printing means the head only prints while moving in one direction. Slower — but more precise.
Bidirectional is the default for most printers because it is faster.
When Bidirectional Hurts You
For high-quality photo printing or detailed graphics, bidirectional mode can produce very minor misalignments. The position of the print head on the return pass is not perfectly matched to the forward pass, resulting in an almost imperceptible but visible striping or soft-focus effect.
The fix:
For something that needs to be absolutely perfect — photos, artwork, final presentations — disable bidirectional printing.
Here’s where to find it:
- Windows: Printer Preferences → Advanced → Uncheck “High Speed” or “Bidirectional Printing”
- Mac: Printer Options → Uncheck “High Speed Mode”
- Printer App: Look under Quality or Advanced settings
For normal documents, leave it on. Disable it for high-quality prints.
Setting #8: Run a Nozzle Check and Clean the Print Head
This is less of a “setting” and more of a maintenance step — but it lives inside your printer’s guide settings and directly impacts print quality.
Over time, ink dries on the tiny nozzles in your print head and clogs them. When nozzles are clogged, you get:
- White streaks across the page
- Missing colors in photos
- Patchy spots in otherwise normal prints
- Banding (horizontal lines running through the image)
The Nozzle Check
Run this first. It prints a test pattern to identify which nozzles are working and which are blocked.
How to run it:
- Open printer software → Maintenance or Tools
- Select Nozzle Check or Print Test Pattern
- Examine the printout — look for gaps or missing lines in the pattern
The Print Head Cleaning Cycle
If there are gaps in the nozzle check, run a cleaning cycle. This pushes ink through the nozzles to clear any blockages.
Important: Don’t run cleaning cycles repeatedly in a row. Each cycle uses ink. Run one, wait 5 minutes, then run the nozzle check again. Repeat only if needed.
According to Epson’s official printer maintenance guide, running regular nozzle checks and cleaning cycles is one of the most effective ways to maintain consistent print quality over the life of your printer.
| Problem | Likely Cause | Fix |
|---|---|---|
| White horizontal streaks | Clogged nozzles | Run head cleaning |
| Faded colors | Low ink or clogged head | Check ink, run cleaning |
| One color missing | Specific nozzle clogged | Run targeted cleaning |
| Blurry text | Misaligned print head | Run alignment tool |
| Smeared ink | Wrong paper type setting | Update media type |
All 8 Settings at a Glance
| # | Setting | Where to Find It | Impact |
|---|---|---|---|
| 1 | Print Quality Mode | Basic Print Settings | Very High |
| 2 | Paper/Media Type | Basic Print Settings | Very High |
| 3 | Color Management | Color Settings / Advanced | High |
| 4 | Print Head Alignment | Maintenance / Tools | High |
| 5 | DPI / Resolution | Quality / Advanced | High |
| 6 | ICC Profiles | Color Management | High (for photos) |
| 7 | Bidirectional Printing | Advanced / Speed Settings | Medium-High |
| 8 | Nozzle Check & Cleaning | Maintenance / Tools | High |
Bonus Tips That Actually Make a Difference
While you’re in there making adjustments, here are a few more tweaks worth making:
Update your printer driver. Old drivers have bugs that cause print quality issues. Visit the manufacturer’s website to download the most recent version.
Use the right ink. Third-party inks can be less expensive, but they don’t usually match your printer’s color profiles. If quality matters, use the manufacturer’s ink — at least for critical prints.
Let prints dry before stacking. Especially with photos. Stacking wet prints causes smearing. Give them 60 seconds.
Store paper correctly. Warped or damp paper causes feeding difficulties and uneven ink absorption. Store paper in a moisture-proof bag or box until use.
FAQs
Q: Will changing these settings damage my printer? No. These are all standard, manufacturer-endorsed options. You aren’t doing anything to put your printer in jeopardy. If anything, cleaning and aligning the print head helps prolong its life.
Q: How often should I run a nozzle check? If you print frequently, once a month is a great habit. If you haven’t printed for a few weeks, run a check before starting a big print job.
Q: My prints still look bad after trying these settings. What now? First, check your ink levels — low ink is the cause of nearly all quality issues. Then try updating your printer driver. If the issue continues, the print head itself may need replacing.
Q: Does print quality mode really make that much difference? Yes — especially for photos. Switching from Standard to High quality mode can make a print look like it came from an entirely different (and better) printer.
Q: What’s the best DPI for printing photos at home? For photos, aim for at least 1200 DPI if your printer supports it. Use glossy or matte photo paper and match the paper type in your settings.
Q: Are ICC profiles worth the trouble for a home user? If you’re printing family photos or anything you care about looking accurate, yes. Setup takes about 5 minutes and the color improvement is definitely noticeable.
Q: Can I save custom settings so I don’t have to change them every time? Yes. Most printer drivers allow you to save presets. Create one preset for “Documents” and another for “Photos” so you can switch with a single click.
Q: Why does my photo look great on screen but bad when printed? Your screen displays colors using light. Your printer uses ink. They have a different gamut (range of colors). Using ICC profiles and allowing either your app or printer — not both — to manage colors will shrink this gap considerably.
Stop Settling for Mediocre Prints
Your printer isn’t broken. It simply needs the right instructions.
The 8 printer guide settings covered in this article are no rocket science. They don’t require technical knowledge. They just take a couple of minutes and a willingness to look beyond the default settings.
Start with the two biggest wins: set the correct paper type and switch to high quality mode. Those two changes alone will give you an immediate improvement.
Then work through the rest. Align your print head. Run a nozzle check. Get your color management sorted. Set the right DPI for what you are printing.
By the time you’ve worked through all 8, you’ll be printing better than most people ever will — without spending a single dollar on a new printer.
The quality was there all along. Now you know how to unlock it.