
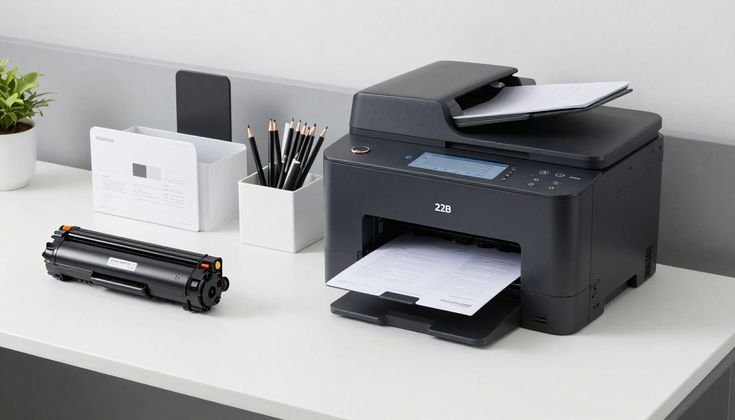
Okay, real talk — the first time my printer threw an error code at me, I just stared at it for a solid two minutes thinking, “What does E3 even mean?” I had a document due in 20 minutes, my printer was blinking like a Christmas tree, and Google was giving me answers that made zero sense. That was the day I decided to actually learn this stuff.
If you’ve been there — and honestly, who hasn’t — this article is for you. I’m going to walk you through the eight most useful troubleshooting tips I’ve picked up over the years from dealing with my own printers (and helping friends and family with theirs). No fluff, no recycled advice. Just stuff that actually works.
1. Decode the Error Code Before You Do Anything Else
This sounds obvious, but most people skip it. They see an error code and immediately start unplugging things or reinstalling drivers. That’s like seeing a “Check Engine” light and immediately changing your oil without knowing what’s actually wrong.
Every printer brand has its own error code language. HP, Canon, Epson, Brother — they all use different codes for different problems. Here’s a quick cheat sheet for some common ones:
| Error Code | Brand | Meaning |
|---|---|---|
| E3 / E04 | Canon | Paper jam or cartridge issue |
| 0x00000709 | HP (Windows) | Default printer conflict |
| Error 5100 | Canon | Carriage jam or foreign object inside |
| Error 50.4 | HP LaserJet | Power supply issue |
| Error Code 6000 | Canon | Paper feed problem |
| 0x97 | Epson | Internal hardware error |
| Err 5 | Brother | Paper jam |
| U4 / U5 | Epson | Waste ink pad full |
Your first step should always be to write down the exact code and look it up on the manufacturer’s official support page. Don’t just Google it generically — you’ll end up on forums with 15 conflicting answers.
2. Restart Everything — But Do It in the Right Order
“Have you tried turning it off and on again?” — yes, I know, it sounds like a meme. But here’s the thing: the order in which you restart things actually matters.
Most people just restart the printer. That sometimes works. But if your printer is on a network (Wi-Fi or wired), you need to do this:
Step-by-step restart sequence:
- Turn off the printer completely (not just sleep mode — fully off)
- Turn off your router/modem
- Shut down your computer
- Wait 60 seconds — seriously, count it out
- Turn the router back on first, wait for it to fully connect
- Turn the printer back on
- Start your computer last
This sequence clears cached network data and forces every device to re-establish communication from scratch. I learned this after weeks of fighting with my HP OfficeJet that kept showing as “offline” even though it was clearly on and connected.
3. Clear the Print Queue — It’s Probably Stuck
This one trips up so many people. You send one document to print, it doesn’t work, you send it again, still nothing, so you send it five more times in frustration. Now you’ve got six stuck documents in a queue and your printer refuses to do anything.
On Windows, here’s how to force-clear it:
- Open Services (search for it in the Start menu)
- Find Print Spooler and click Stop
- Open File Explorer and navigate to:
C:\Windows\System32\spool\PRINTERS - Delete all files inside that folder (don’t delete the folder itself)
- Go back to Services and Start the Print Spooler again
- Try printing again
This has saved me probably a dozen times. The spooler gets corrupted or stuck, and no amount of “canceling” from the print queue screen actually clears it properly.
On Mac: Go to System Settings → Printers & Scanners → click your printer → Open Print Queue → delete everything manually. Usually simpler on Mac, thankfully.
4. Update or Reinstall the Printer Driver (The Right Way)
Outdated or corrupted drivers cause a shocking number of error codes. I’ve seen people buy brand-new ink cartridges thinking that was the problem, when all they needed was a driver update.
But here’s where people mess up — they download drivers from random third-party sites. Don’t do this. Ever. Always go to the manufacturer’s official website.
The process:
- Go to the manufacturer’s support page (HP Support, Canon Support, Epson Support, etc.)
- Enter your exact printer model number (it’s usually on a sticker on the front or bottom of the printer)
- Download the full driver package, not just the “basic driver”
- Before installing, go to Device Manager on Windows, find your printer, right-click and Uninstall device — check the box to delete driver software too
- Restart your computer
- Now install the fresh driver
The uninstall-before-reinstall step is crucial. If you just install on top of a corrupted driver, you’ll often get the same errors.
For network printers specifically, these 11 smart printer guide solutions for network printer setup problems can save you a lot of headache.
5. Check for Paper Jams — Even If You Can’t See One
Here’s something I didn’t know for an embarrassing amount of time: paper jams aren’t always visible. There can be a tiny torn piece of paper stuck deep inside the roller mechanism that you genuinely cannot see, but the sensor detects it and throws an error.
How to actually check properly:
- Open every single access panel your printer has — front, back, and the tray underneath if there is one
- Use a flashlight and look into the paper path from multiple angles
- Gently rotate the rollers by hand (with the printer off!) to feel for resistance
- If you find a tiny piece, don’t just yank it — pull it slowly in the direction the paper normally travels
- Never use scissors or tweezers with metal tips inside the printer — you can damage the rollers or worse, cause an electrical issue
I once had a Canon that kept throwing an E04 error. Couldn’t find any paper jam. Turns out a tiny corner of glossy photo paper had torn off and gotten wrapped around the secondary roller. Took me 20 minutes to find it with a phone flashlight.
Here’s a quick visual of where jams commonly hide:
| Location | What to Look For |
|---|---|
| Input tray | Misaligned or double-fed sheets |
| Output tray area | Paper partially printed and stuck |
| Rear access panel | Thin strips of torn paper on rollers |
| Duplex unit (if present) | Folded or crumpled paper in the flip mechanism |
| Cartridge access area | Small torn pieces near the print head path |
6. Fix Wireless Connection Errors Properly
Wi-Fi printer errors drive people absolutely crazy. Your printer shows “connected” on its screen, your computer says it can’t find the printer — what gives?
The most common culprits:
IP Address conflict: Your printer got assigned a new IP address by the router (routers do this automatically unless you configure a static IP), but your computer is still trying to reach the old one.
Fix: Assign your printer a static IP address. Most printers let you do this through their built-in settings menu under Network → TCP/IP → Manual IP. Set it to something like 192.168.1.200 (something your router won’t normally auto-assign). Then update the port settings on your computer to match.
2.4GHz vs 5GHz confusion: Many modern routers broadcast on both bands. Some older printers only connect to 2.4GHz. If your phone automatically connects your printer setup to 5GHz, it might appear connected but then drop constantly.
Fix: Temporarily disable 5GHz on your router during setup, or create a separate SSID just for 2.4GHz devices.
For more detailed wireless fixes, these 6 powerful printer guide tips for wireless printer setup cover the topic really well.
7. Handle Ink and Cartridge Error Codes Without Wasting Money
Cartridge errors are probably the most financially frustrating ones. You buy a third-party cartridge to save money, and suddenly your printer refuses to recognize it or throws a “cartridge error” code. Or worse, you have a genuine cartridge and it still gives errors.
Common cartridge error scenarios and fixes:
“Cartridge Not Recognized” error:
- Remove the cartridge and clean the copper contacts with a dry lint-free cloth (those gold/copper strips on the cartridge)
- Also clean the contacts inside the printer where the cartridge sits
- Reseat the cartridge firmly until you hear a click
Ink level errors that aren’t real: Some printers throw low-ink errors even when cartridges have plenty of ink left (especially HP). You can often override this by holding a specific button combination — check your model’s manual for this. It’s a real thing, and it works.
Third-party cartridge issues: Some printers (especially newer HP models) have firmware that actively blocks third-party cartridges. If you’re using off-brand ink, avoid automatic firmware updates — or check if there’s a firmware rollback available for your model.
| Cartridge Problem | Quick Fix |
|---|---|
| Not recognized | Clean contacts, reseat firmly |
| Wrong cartridge error | Verify exact model number of cartridge |
| Low ink warning (ink still present) | Override via button combo or settings |
| Streaky prints | Run print head cleaning utility 2-3 times |
| Third-party cartridge blocked | Check firmware version, avoid auto-updates |
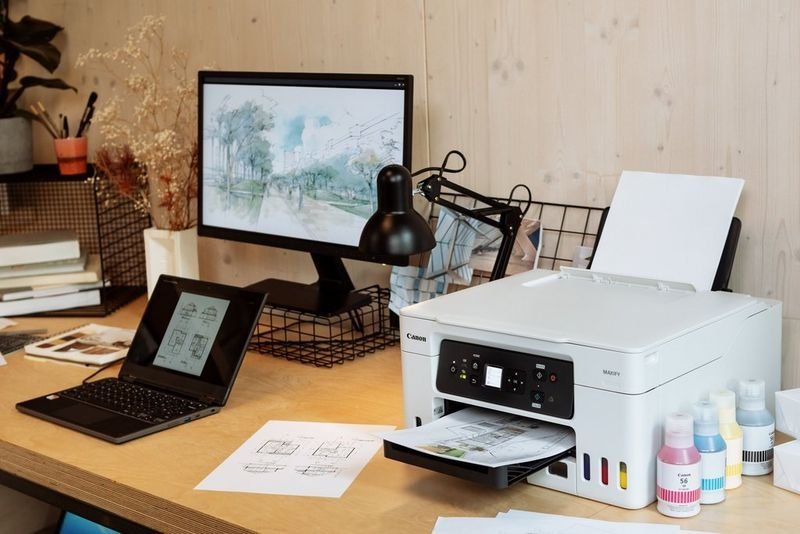
8. Use the Right Diagnostic Tools Instead of Guessing
Most people don’t know that printer manufacturers actually give you free diagnostic tools. Instead of spending an hour guessing what’s wrong, these tools can identify the problem in minutes.
HP Print and Scan Doctor — This is genuinely one of the most useful free tools out there. It scans your HP printer, identifies connection issues, driver problems, and print queue errors automatically, and often fixes them too. Download it directly from HP’s site.
Canon My Printer — Canon’s software utility that checks printer status, alignment, and settings from your computer.
Epson Printer Utility — Built into most Epson printer drivers. Lets you run nozzle checks, head cleaning, and alignment adjustments.
Windows Printer Troubleshooter — Found under Settings → System → Troubleshoot → Other troubleshooters. It’s basic but catches obvious issues quickly.
On Mac — The built-in CUPS interface (access via localhost:631 in your browser) gives you advanced printer management options most people never know exist.
I always run the manufacturer’s diagnostic tool first before doing anything manual. It’s saved me hours of unnecessary tinkering.
For a complete breakdown of what to check before calling a technician, these 6 essential printer guide checks are worth going through.
Common Mistakes People Make When Fixing Printer Errors
I’ve made most of these myself, so no judgment:
- Reinstalling drivers without uninstalling first — Creates conflicts that make things worse
- Pulling jammed paper too fast — Tears it and leaves pieces inside
- Ignoring firmware updates — Sometimes a firmware update is exactly what fixes a persistent error code
- Using the wrong cartridge model — Even one digit off can cause errors
- Not checking physical connections — A slightly loose USB cable or power cord causes mystery errors constantly
- Canceling print jobs from the taskbar only — The queue might still be stuck in the spooler
- Running head cleaning too many times — It wastes a surprising amount of ink; two or three cycles is usually the limit before you need a different approach
A Few Things Worth Knowing About Error Code Patterns
After dealing with enough printer errors, you start to notice patterns. Errors in the 0x000 format on Windows are almost always driver or spooler issues. Single-digit codes (E1, E2, E3) on Canon inkjets are usually hardware-related — paper, cartridge, or carriage. HP’s numbered error codes (like 50.x) on laser printers often point to fuser or power supply problems.
Understanding that pattern helps you skip straight to the right solution instead of trying everything randomly.
And honestly? Most printer errors aren’t as catastrophic as they feel in the moment. The printer isn’t broken — it’s just trying to tell you something specific, in its own frustrating way. Take a breath, read the code, and work through it systematically.
Also worth reading: If you want to go deeper on fixing connection-related error codes specifically, these 11 smart printer guide tips to fix connection errors cover a lot of ground that most generic guides miss.