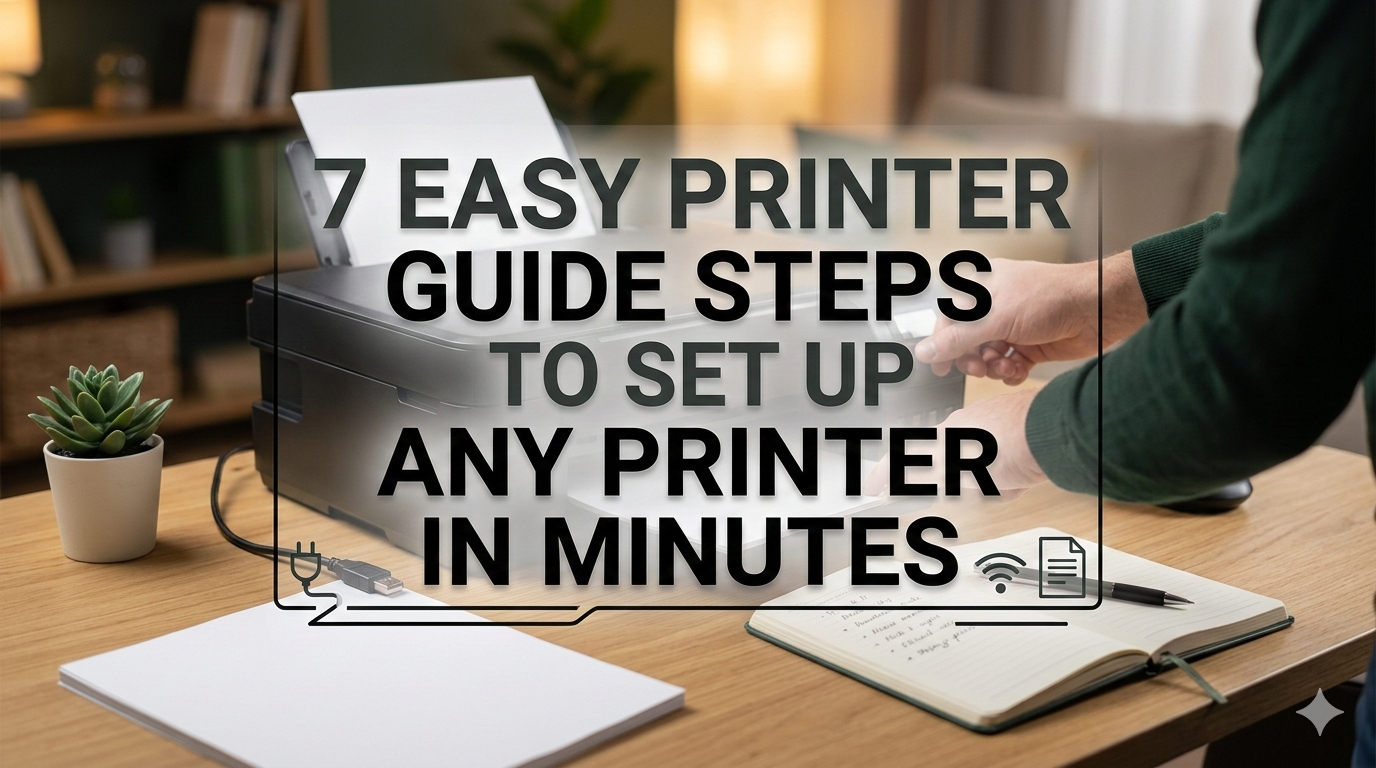
7 Easy Printer Guide Steps to Set Up Any Printer in Minutes
Meta Description: Printer Guide of Staples — the app in detail! Set up any kind of printer in minutes — wired, wireless or Bluetooth — with these seven simple steps. Ideal if you are a beginner or using for the first time.
So you have just got a new printer. It’s in a box, with wires coming out everywhere and you don’t know where to begin. Sound familiar?
Installing a printer doesn’t have to be a pain. Whether you purchased an inkjet, a laser or an all-in-one printer — it’s easier than many people think.
This printer guide takes you through 7 simple, easy steps that work for nearly every printer brand. We’re speaking HP, Canon, Epson, Brother, and others. By the time you finish this article, your printer will be working like a charm — no tech experience required.
Let’s get into it.
Why So Many People Fail at Setting Up a Printer (And You Won’t)
Too many people skip the setup steps and start printing right away. That’s where the trouble starts.
Offline mistakes, connection losses, and missing drivers occur during missed procedures. The majority of printer issues boil down to a sole element: the setup process wasn’t executed properly from the start.
This printer guide fixes that. Steps are meant to be done in sequence. Don’t skip a thing, and you’ll be printing within minutes.
What You’ll Need Before Getting Started
Before getting into the steps, gather up a few things:
| Item | What You Need It For |
|---|---|
| Your new printer | Of course! |
| Power cable | Included in box |
| USB cable (optional) | For wired setup |
| Wi-Fi network name + password | For wireless setup |
| A computer, phone, or tablet | Installing drivers and connecting |
| Internet connection | Downloading drivers if needed |
Having these ready means you don’t have to stop midway.
Step 1 — Unbox Slowly
This may sound simple, but unpacking matters more than you might guess.
Peel Off All the Tape and Packing Materials
There’s orange tape, foam inserts, and plastic holders all around the cartridge area on printers. Those are shipping protectors — they need to be removed before the printer powers up.
If you leave a single piece of tape inside the printer, it will not function correctly. Cartridges won’t seat properly. Paper won’t feed. You’ll get errors right away.
Here’s what to look for:
- Orange or blue tape on the outside of the printer
- Foam or cardboard inside the paper tray
- Plastic clips or holders near the ink cartridges
- A pull-tab inside the cartridge bay
Pull everything out. Check twice.
Put Your Printer in the Correct Location
Place your printer on a flat and stable surface. Ensure that you have at least 4–6 inches of free air space around the unit on all sides to allow for ventilation and paper output.
If possible, keep it near an outlet. If you’re doing a wireless setup, put it in Wi-Fi range — not too far away, but not so close to electronics that cause interference.
Step 2 — Hook Up Power and Boot
Now it’s time to power up.
Plug In and Power On
Plug the power cable into the printer and then into the outlet. Avoid using a power strip to plug in your printer, if you can — some require a direct connection to function properly.
Press the power button. Most printers have it on the front or top panel. Hold it for a second until the lights turn on or the screen activates.
Allow It to Complete Its Startup Sequence
Here’s something a lot of people don’t get right — they start hitting buttons right away.
Wait. Allow the printer to complete its startup procedure. It may shift parts, click, or display a loading screen. This is completely normal. It’s calibrating itself.
When you first boot, some printers will prompt the user to select a language or country. Go through those options carefully. It controls how the printer will communicate with your device.
Step 3 — Install the Ink or Toner Cartridges
This step is critical. If a cartridge is not installed correctly, the printer will not print.
Inkjet or Laser: Know What You Are Going For
| Printer Type | Uses | How to Install |
|---|---|---|
| Inkjet | Ink cartridges (liquid) | Snap into cartridge bay |
| Laser | Toner cartridge (powder) | Slide into drum unit |
| All-in-One | Usually ink cartridges | Same as inkjet |
For Inkjet Printers
Open the cartridge bay — typically by lifting up the front cover or pressing a release button. Allow time for the cartridge holder to shift to the center.
Unpack your ink cartridges from the packaging. Remove the orange protective cap and pull off the tape strip over the ink nozzle. Avoid touching the copper contacts or the nozzle area.
Slide each cartridge into its corresponding slot. Colors go in the color slot, black goes in the black slot. Press down until you hear a click.
Close the cartridge bay. The printer will automatically execute a brief alignment process.
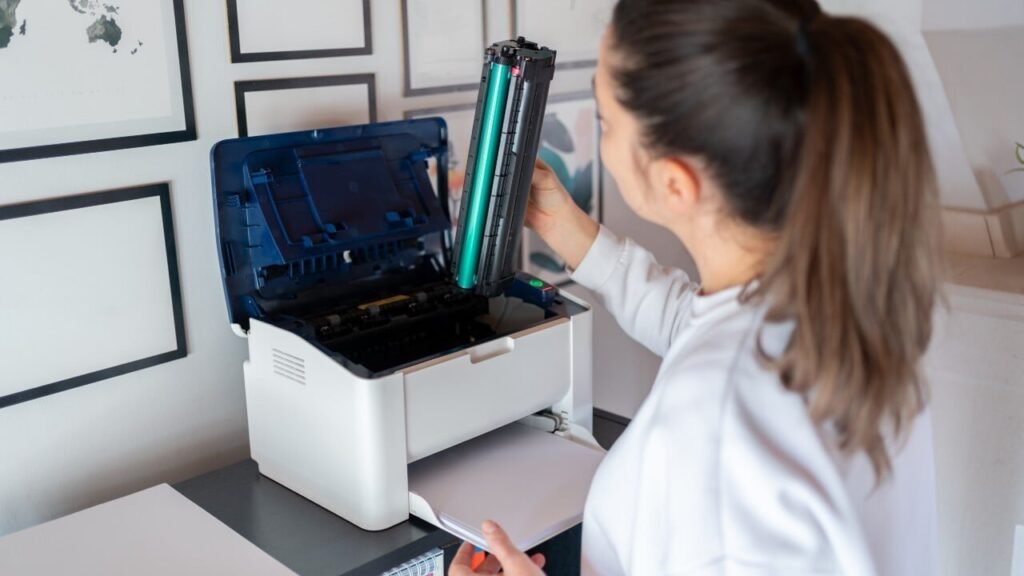
For Laser Printers
Toner cartridges are used in laser printers, not ink. Pull open the front panel, pull out the drum unit (if it is separate), and push the toner cartridge into place.
Gently shake the toner cartridge from side to side 5–6 times before inserting. This evenly distributes the toner, leading to better print quality.
Push the cartridge in all the way until it clicks. Close the panel.
Step 4 — Load Paper in the Right Place
You’d be amazed how many setup problems boil down to paper loading.
Load Paper the Right Way
Pull out the paper tray completely. Fan a small stack of paper beforehand — it keeps the pages from all feeding at once.
Place the paper in the tray. Ensure the stack is level with the guides on the front and rear. Snug the guides against the paper — not too tight, but not too loose.
Push the tray back in until you hear it click.
Paper Size Settings
Most printers automatically detect paper size. But certain older models require you to confirm the size of the paper manually on the control panel or via the printer software.
Choose Letter (8.5 x 11 inches) if you’re in the United States or A4 elsewhere. That minor adjustment saves a lot of “paper size mismatch” messages later.
Step 5 — Select How You Will Connect
This is the step that really makes it or breaks it as far as how your printer will fit into your home or office. You have three main options.
Option A — USB Cable (Wired Connection)
Wired is the easiest and most reliable method. No Wi-Fi needed.
Plug one end of the USB cable into the printer and the other end into your computer. Your computer should automatically identify the new device. It might install a few basic drivers automatically.
Best for: Home offices, single-user setups, users who prefer wired connections.
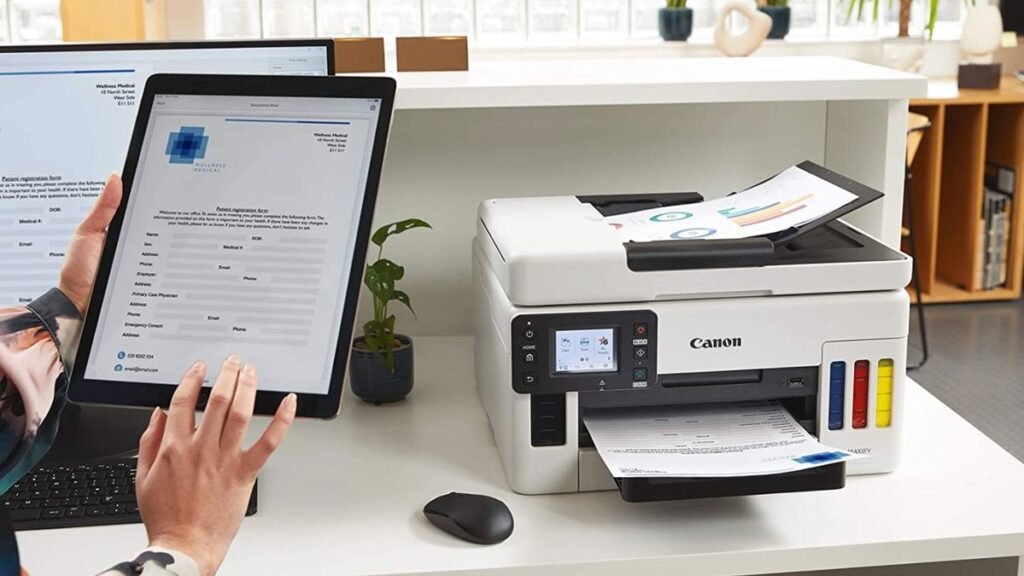
Option B — Connect via Wi-Fi (Wireless Connection)
Wireless printing allows you to print from anywhere on your network — even from a phone or tablet.
Most modern printers have a built-in screen where you can go to Settings > Wireless Setup Wizard. Just follow the prompts, choose your Wi-Fi network, and enter your password.
Some printers support WPS (Wi-Fi Protected Setup). If a WPS button exists on your router, press it along with the WPS button on your printer. They will pair automatically within 2 minutes.
Best for: Households with multiple devices, anyone who wants to print from a phone.
Option C — Bluetooth Connection
Bluetooth is less common among printers, but a few portable and compact printers use it. Navigate to your device’s Bluetooth settings, locate the printer from the results list, and pair it.
Best for: Mobile printing, portable printers, printing without Wi-Fi.
Quick Comparison: Which Type of Connection Is Right for You?
| Connection Type | Speed | Convenience | Reliability | Best For |
|---|---|---|---|---|
| USB (Wired) | Fast | Low (stays connected) | Very High | Desktops, single users |
| Wi-Fi | Fast | High | High | Multi-device households |
| Bluetooth | Medium | High | Medium | Mobile/portable printing |
Step 6 — Install Drivers and Printer Software
This is the step that 90 percent of new users skip — and it accounts for 90 percent of printer problems.
What Are Printer Drivers?
Drivers are tiny programs that allow your computer to “speak” with your printer. Without the correct driver, your computer doesn’t know how to send print jobs to the printer.
Each printer model requires its own unique driver.
How to Install the Correct Driver
Method 1 — Use the CD (if provided) Some printers still come with a setup CD. Pop it in, follow the on-screen prompts, and you’re done. Simple.
Method 2 — Download From the Manufacturer’s Website This method is best because you get the most updated driver.
Visit the official website of your printer brand:
- HP: hp.com/support
- Canon: usa.canon.com/support
- Epson: epson.com/support
- Brother: support.brother.com
Find the exact model of your printer. Download the complete driver package according to your operating system (Windows 10, Windows 11, macOS, etc.).
Run the installer. Follow the on-screen steps. When prompted, select USB or wireless connection — this must match what you configured in Step 5.
Method 3 — Automatic Detection (Windows/Mac) Windows 10 and 11 automatically detect many printers when connected via USB or when the printer joins your Wi-Fi network. Go to:
Settings > Devices > Printers & Scanners > Add a Printer
Your system will search and add the printer. It works for basic printing but might not include advanced features like scanning or ink level monitoring.
💡 Still running into driver issues? Visit Printer Troubleshoot Guide for step-by-step solutions to the most common printer driver problems and setup errors.
Step 7 — Print a Test Page and Troubleshoot Common Problems
You’re almost there. One final step before you can consider it finished.
Print a Test Page
On Windows: Go to Control Panel > Devices and Printers. Right-click on your printer and click Printer Properties. Click Print Test Page.
On Mac: Go to System Settings > Printers & Scanners. Select your printer. Click Open Print Queue, then go to Printer > Print Test Page.
If the page prints clearly with no weird lines or color blobs — congratulations, your setup is complete!
What to Do if the Test Page Does Not Print?
Don’t panic. Here’s a quick troubleshooting chart:
| Problem | Likely Cause | Fix |
|---|---|---|
| Printer shows “Offline” | Connection issue | Restart printer and computer. Check connection. |
| Test page prints blank | Cartridge tape still in place | Open cartridge bay, check for tape |
| Poor print quality | Low ink or misalignment | Run the printer’s alignment/cleaning tool |
| Printer not found | Driver not installed | Reinstall driver from manufacturer’s site |
| Paper jam | Paper loaded incorrectly | Remove paper tray, clear jam, reload carefully |
| Error lights blinking | Depends on model | Check your printer manual for error code meaning |
Bonus Tips to Keep Your Printer Running Great
Setup is only the beginning. These additional tips will spare you headaches down the road.
Print Regularly
If you don’t use an inkjet printer for weeks on end, the ink inside its nozzles can dry out. Print at least one page each week — even just a test page — to prevent ink from drying up.
Keep Firmware Updated
Printer manufacturers release firmware updates to fix bugs and improve performance. Check the manufacturer’s website every few months for updates.
Store Paper Properly
Paper absorbs moisture from the air. Keep it in a sealed bag or its original packaging in a dry place. Damp paper causes jams and poor print quality.
Use Genuine Cartridges When Possible
Third-party ink cartridges cost less but can cause error messages or degradation in print quality. Use cartridges made by your printer’s manufacturer when possible.
According to Consumer Reports’ printer buying guide, using genuine cartridges and keeping firmware up to date are two of the most effective ways to extend the life of your printer.
How Long Does Printer Setup Actually Take?
Here’s a realistic time breakdown:
| Step | Estimated Time |
|---|---|
| Unboxing and setup | 5 minutes |
| Cartridge installation | 3–5 minutes |
| Loading paper | 2 minutes |
| Wi-Fi or USB connection | 3–5 minutes |
| Driver installation | 5–10 minutes |
| Test print | 2 minutes |
| Total | 20–30 minutes |
Most people finish setup in under 30 minutes thanks to this printer guide — even first-timers.
FAQs — Printer Guide Questions Answered
Q1: Do I need to install drivers even if my computer finds the printer automatically?
It depends. Windows and Mac can detect basic printing functions without a full driver. However, for things such as scanning, ink level monitoring, or advanced settings, you’ll want the full driver from the manufacturer’s website.
Q2: The printer is turned on but it says “offline.” What’s wrong?
This is a common issue. First, restart the printer and your computer. Next, make sure the printer is on the proper Wi-Fi network. Printers may disconnect from Wi-Fi after a power outage. Head to your printer’s wireless settings and reconnect.
Q3: Can I set up a printer without a CD?
Absolutely. CDs don’t even come included with most printers anymore. Simply go to the manufacturer’s website, type in your printer model, and download the driver from there. It’s quicker and gives you the latest version.
Q4: Can my printer be connected to multiple devices?
Yes. If you connect over Wi-Fi, any device on the same network can print to it — phones, tablets, laptops, and desktops. Only the machine you plug USB into can access it directly (although sharing software can also help there).
Q5: Why is my printer printing blank pages?
There are a few reasons. Most often, the protective tape on the ink cartridge was not completely removed. Another reason is clogged print heads from sitting unused too long. Run a head cleaning tool found in your printer’s settings menu.
Q6: How do I set up a printer on my phone?
For Android devices, install the app for your printer brand (HP Smart, Epson iPrint, etc.) and complete the setup within that app. For iPhone, most modern printers support Apple AirPrint — no app required. Just ensure that your printer and iPhone are both on the same Wi-Fi network.
Q7: Is it safe to use third-party ink cartridges?
It’s generally safe, but the results are mixed. Some third-party cartridges work perfectly well. Others can result in smearing, color problems, or cause error messages. If you’re printing important documents or photos, it’s safer to use the manufacturer’s cartridges.
Wrapping It All Up
Setting up a printer is one of those jobs that seems daunting at first, but becomes completely manageable once you familiarize yourself with the steps involved.
This printer guide divides everything into 7 neat stages — from unboxing to your first successful test print. No confusing tech talk. No skipped steps. Just a direct route from box to printing.
Whether you’re installing a wireless HP printer in your sitting room or a laser Brother printer in a corner office, these steps apply universally.
Go through them in sequence, be painstaking about the driver install, and always print that test page before calling your work done.
Your printer is ready. Now go use it.