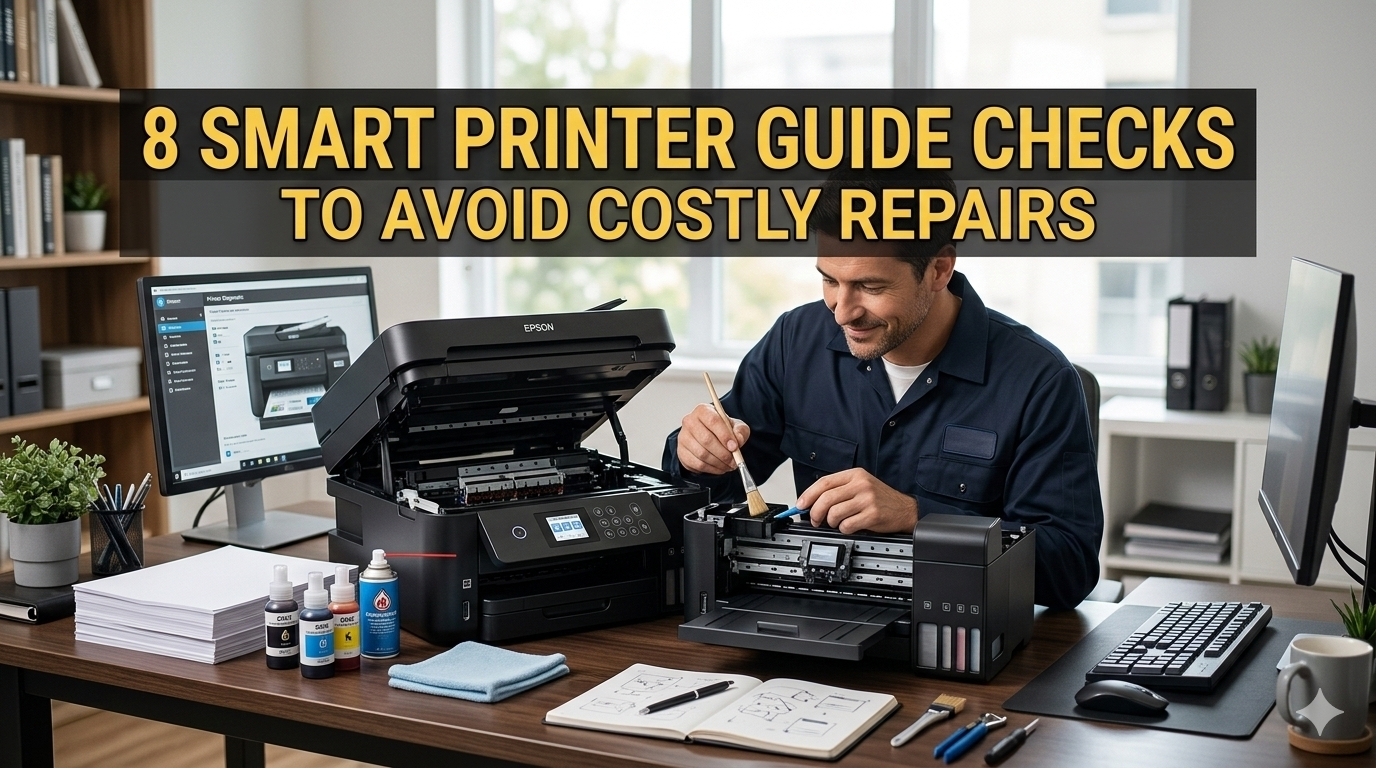
8 Smart Checks That Could Save Your Printer Costly Repairs
Meta Description: A printer guide check can save you a few hundred dollars in the repair bill. Learn 8 simple, smart steps you can take to keep your printer running smoothly — and spare yourself from pricey breakdowns.
Your Printer Is Trying to Tell You Something — Are You Listening?
For most people, their printer is something they only notice when it breaks. Then there’s the frustration — smeared ink, paper jams, faded prints, or a machine that just won’t work. The repair bill comes soon after that.
So here’s the reality: most printer problems don’t happen suddenly. They build up slowly. And with a couple of easy checks, you can find them early before they become costly repairs.
This guide takes you through 8 handy printer guide checks that everyone can carry out at home. No technical background needed. Just a bit of time and attention.
Let’s get started.
How Regular Printer Checks Actually Make a Difference
Treat your printer as you would a vehicle. You wouldn’t go 50,000 miles without an oil change. The same logic applies here.
Printers are complex devices involving mechanical moving parts, ink systems, rollers, and sensors. Any of these become worn over time. Dust builds up. Ink dries out. Rollers lose grip. If you don’t check in regularly, little problems fester and grow.
Here’s what’s at stake:
| Problem Ignored | Likely Repair Cost |
|---|---|
| Clogged print head | $50–$150 |
| Worn paper feed rollers | $80–$200 |
| Damaged fuser unit (laser) | $100–$300 |
| Broken carriage belt | $60–$130 |
| Full waste ink pad | $40–$120 |
A 10-minute monthly check can save you hundreds of dollars a year. That’s a trade worth making.
Check #1 — Inspect Your Print Quality Before It Deteriorates
The first printer guide check is the easiest one. Just print a test page.
Most printers offer an option for a test page to print from the printer itself. Get one printed every couple of weeks and examine it closely. What you’re looking for:
- Streaks or lines running through the page
- Segments of faded colors where the color seems weak
- Smearing or bleeding, where ink spreads outside the line
- Areas that should be filled having missing colors
These are early warning signs. They say that the print head may be clogging or that the ink cartridge might be low or dried up.
How to Print a Test Page
Go to Settings → Maintenance → Print Test Page on most printers. You can also right-click your printer in the Control Panel on Windows and select “Print test page.”
Do this once a month. Compare it with the one before. If quality is deteriorating, it’s time to clean the print head — before things get worse.
Check #2 — Clean the Print Head Regularly (Avoid Problems)
One of the most common problems in the printer is a clogged print head. The ink dries inside the small nozzles and stops the flow. The result? Streaky, patchy, or faded prints.
The good news: most inkjet printers come with an automatic cleaning feature.
Go to Settings → Maintenance → Head Cleaning (or similar — brands vary). Run it and then print a test page. If the quality gets better, you’re done. If not, run it one more time.
When to Clean the Print Head
| Situation | Action Needed |
|---|---|
| Printer hasn’t been used for 2+ weeks | Run head cleaning |
| Streaks visible on test page | Run head cleaning |
| Colors do not look bright and vivid | Run head cleaning |
| After replacing a cartridge | Run it once |
Caution: Do not run the cleaning cycle more than 2–3 times consecutively. It uses a lot of ink. If after three cycles the issue continues, the head itself may require more in-depth manual cleaning or should be replaced.
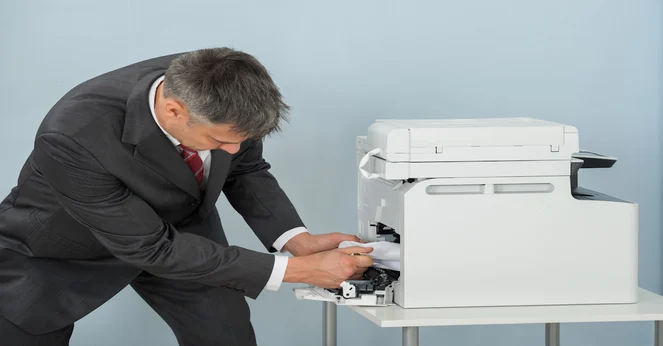
Check #3 — Examine the Paper Feed Mechanism Monthly
Paper jams aren’t just annoying. If they occur repeatedly, they can wear down rollers and sensors — even the internal frame of your printer.
Most jams occur due to two things:
- The paper is loaded incorrectly
- The rollers are dirty or worn out
How to Check Your Paper Feed System
Step 1: Take out all paper from the tray. Look inside with a flashlight. Do you see torn paper scraps, dust, or debris? Use tweezers or a dry cloth to remove anything you find.
Step 2: Check the rubber rollers. They should have a slight texture and be slightly grippy. If they shine or feel slick, they’re worn out.
Step 3: Clean the rollers with a lint-free cloth that has been slightly dampened with water. Allow them to dry thoroughly before reloading paper.
Step 4: Reload paper correctly. Ensure it’s fanned out (not stuck together), straight aligned, and not overfilling the tray.
A clean, properly loaded paper tray greatly lowers the risk of jams.
Check #4 — Keep an Eye on Your Ink or Toner Levels Weekly
It is annoying when ink runs out in the middle of a print. But totally draining cartridges can actually harm your printer.
The print head cools off when ink is flowing through it. Overheating problems can occur if an inkjet cartridge runs completely dry. This can cause irreversible damage to the head.
Running toner too low with laser printers puts uneven distribution and wear on the drum unit over long periods.
How to Check Ink or Toner Levels
- Windows: Control Panel → Devices and Printers → Right-click your printer → Printer Properties → Maintenance tab
- Mac: System Settings → Printers & Scanners → Select your printer → Options & Supplies
- Printer app: Most modern printers have a brand-specific app (HP Smart, Epson iPrint, Canon PRINT) that provides live ink levels
Smart Ink Management Tips
| Tip | Why It Helps |
|---|---|
| Replace cartridges at 10–15% remaining | Prevents head damage from running dry |
| Store spare cartridges in a cool, dark place | Extends shelf life |
| Use genuine cartridges when possible | Reduces risk of clogging and leaking |
| Don’t leave partially used cartridges out of the printer for long | Ink dries out quickly |
Schedule a weekly reminder to check ink levels. It takes 30 seconds and could save you an expensive repair.
Check #5 — Clean the Exterior and Interior
Dust is the silent enemy of a printer. It gets inside rollers, sensors, and paper trays. Eventually, it leads to feeding issues, sensor malfunctions, and overheating.
This check is a quick five-minute task you should perform monthly.
Exterior Cleaning
- Use a soft, dry cloth to wipe the outside
- For stubborn smudges, use a slightly damp cloth (never wet)
- Do not spray any cleaning product directly onto the printer
Interior Cleaning
- First, switch off the printer and unplug it
- Open all accessible panels (paper tray, rear access panel, cartridge bay)
- Use a can of compressed air to blow dust out from inside
- Wipe accessible surfaces with a dry lint-free cloth
- Never touch the print head directly with your fingers — oils from skin can clog nozzles
Flatbed Scanner (If You Have One on Your Printer)
If you own an all-in-one printer, the scanner glass is prone to dust and fingerprints. A dirty scanner means blurry, streaky scans.
Wipe the glass clean with a microfiber cloth and a bit of glass cleaner sprayed onto the cloth (do not apply it directly to the glass). Wipe in one direction to prevent streaking.
Check #6 — Make Sure Your Printer Drivers and Firmware Are Updated
This one really catches many people by surprise. Your printer operates on software, just like your phone or laptop. And old software creates actual problems.
Old drivers can cause:
- Print jobs stuck in the queue
- Errors in communication between printer and computer
- Missing features or poor print quality settings
- Security vulnerabilities
The manufacturer can fix bugs, improve performance, or add new functionality via firmware updates.
How to Update Printer Drivers
On Windows:
- Open Device Manager
- Find your printer under “Printers”
- Right-click → Update Driver
- Or go directly to the manufacturer’s site for the newest version
On Mac:
- System Settings → General → Software Update
- This often also includes updates to printer drivers
- Or visit the manufacturer’s site
How to Update Printer Firmware
Most current printers update their firmware automatically when connected to Wi-Fi. You can also check manually via the printer’s touchscreen menu under Settings → Firmware Update, or by using the brand’s app.
Check for updates every couple of months. It’s an easy step that many people skip altogether.
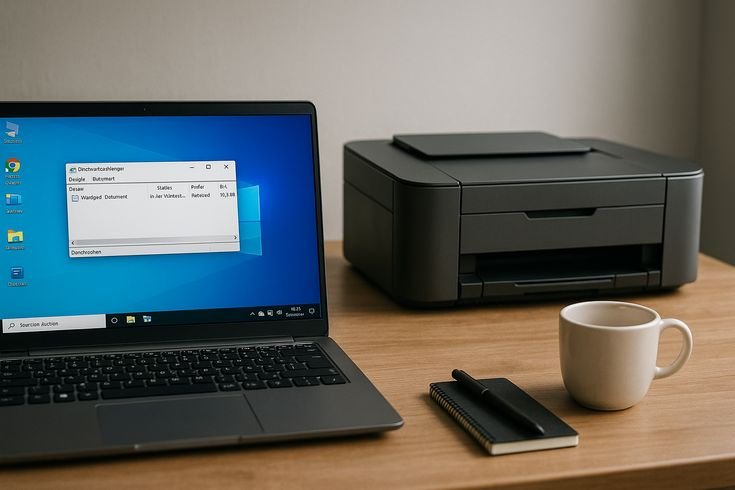
Check #7 — Test Your Wi-Fi Connection and Network Configuration
Wireless printing is convenient — until it doesn’t work. Connectivity problems are among the most frequent complaints from printer owners.
The printer itself is often not the issue. It’s the link between the printer and your router or computer.
Signs That Your Wireless Connection Needs Attention
- Print jobs sit in the queue but never print
- Printer appears as “offline” despite being powered on
- You have to reboot the printer every time you want to print
- Connection drops frequently
If you keep running into wireless printing headaches, Printer Troubleshoot Guide is a solid resource with step-by-step fixes for the most common printer connectivity problems.
How to Run a Wireless Check
Step 1: Print a network configuration page. On most printers this is in Settings → Network → Print Network Summary. It displays the IP address and connection status.
Step 2: Ensure your printer is on the same Wi-Fi network as your computer. It sounds obvious, but dual-band routers (2.4GHz and 5GHz) can introduce problems if your printer is on a different band from your computer.
Step 3: Assign a static IP to your printer. This stops the router from changing the printer’s IP address, which creates “printer offline” errors. You can do this via your router’s admin settings.
Step 4: Power cycle the printer and router once a month. This clears connection errors and refreshes the network.
Check #8 — Pay Attention to Error Codes and Warning Lights
Your printer communicates through error codes and warning lights. Most people ignore them or hit “OK” to dismiss them. That’s a mistake.
Every code or light means something specific. If you ignore it, a small issue can develop into something that requires a professional repair — or even an outright replacement.
Common Printer Error Codes and What They Mean
| Error Code / Light | What It Means | What to Do |
|---|---|---|
| Paper jam error (no paper visible) | Torn paper fragment inside | Use flashlight to check all panels |
| Ink system error | Clogged head or cartridge issue | Run cleaning cycle, reseat cartridge |
| Waste ink pad full | Internal pad is saturated | Reset counter or replace waste ink pad |
| Carriage error | Print head stuck or belt issue | Power cycle; check for obstruction |
| Communication error | Driver or connection problem | Reinstall driver; check cable/Wi-Fi |
| Drum life end (laser) | Drum near end of lifespan | Replace drum unit |
How to Find Your Error Code
Go to the manufacturer’s support website and look up your exact model number plus the error code. You’ll usually find:
- A clear explanation of the problem
- Step-by-step fix instructions
- Whether a professional repair is required
Brands and their support pages:
- HP: support.hp.com
- Epson: epson.com/support
- Canon: usa.canon.com/support
- Brother: support.brother.com
Don’t dismiss warning lights. Read them. They’re your printer’s way of asking for help before things get worse.
According to HP’s official printer maintenance guide, regularly checking error codes and responding to warning lights early is one of the most effective ways to extend your printer’s lifespan and avoid unnecessary repair costs.
Monthly Printer Check Routine — Quick Reference Chart
Here’s a straightforward chart you can follow every month:
| Check | Frequency | Time Needed |
|---|---|---|
| Print test page and check quality | Monthly | 5 minutes |
| Run print head cleaning if necessary | Monthly or as needed | 5 minutes |
| Inspect and clean paper feed rollers | Monthly | 5–10 minutes |
| Check ink/toner levels | Weekly | 1 minute |
| Clean exterior and interior | Monthly | 5–10 minutes |
| Update drivers and firmware | Every 2–3 months | 10 minutes |
| Test wireless connection | Monthly | 5 minutes |
| Review error codes and warning lights | Immediately when they appear | Varies |
Print this chart and keep it near your printer. Mark completed tasks as you go.
The Real Cost of Not Doing These Checks
Let’s put some numbers behind this.
The average inkjet printer costs between $80 and $200. A laser printer ranges between $150 and $400 or more. A professional repair typically costs $75 to $150 for the service call alone — before parts are added.
Often, the cost of repair exceeds the cost of a new printer.
But here’s what people overlook: that new printer still needs to be maintained. If you neglect the new one as well, in 12 to 18 months you will find yourself in the same position.
Regular maintenance costs you:
- About 20–30 minutes per month
- Some cleaning supplies (a handful of dollars)
- Replacement cartridges at the right time
Skipping maintenance costs you:
- $75–$300+ in repair bills
- Lost productivity during downtime
- Printer failure at the worst possible moment
The math is simple.
Bonus Tips to Extend the Life of Your Printer
In addition to the 8 main checks, here are a few more habits that extend the life of your printer:
Use your printer regularly. Inkjet printers that don’t get used for weeks develop clogged heads. Even printing a single page per week will keep the ink flowing and prevent the nozzles from getting clogged.
Place your printer in the right environment. Stay away from extreme heat, cold, or humidity. Avoid direct sunlight and air vents. The ideal room temperature is between 59°F and 77°F (15°C to 25°C).
Turn it off the right way. Always use the power button — don’t simply unplug it. Pressing the button parks the print head properly so that ink won’t dry on the nozzles.
Use the right paper. Low-cost or incompatible paper increases jam risk and can create paper dust inside the printer. Use paper that meets your printer’s specifications.
Keep the printer covered when not in use. A basic dust cover (they’re cheap) prevents dust from creeping into the paper tray and internal parts.
FAQs — Printer Guide Checks and Maintenance
How regularly should I be doing printer guide checks?
Most checks should be performed on a monthly basis. Ink level checks should be weekly. Driver and firmware updates should be done every 2 to 3 months. Immediately address any error codes or warning lights when they appear.
Can I manually clean my printer’s print head?
Yes, but only if the auto cleaning cycle fails after 2–3 attempts. Manual cleaning involves removing the cartridge and gently wiping the head with a lint-free cloth moistened with distilled water or isopropyl alcohol. Caution — this can cause damage if done incorrectly.
Why does my printer show as offline when it’s on?
That generally means there is a connectivity or communication issue. The most common causes include a changed IP address (fix this by assigning a static one), a driver glitch (fix by restarting the print spooler or reinstalling the driver), or a Wi-Fi disconnection (restart both your router and printer).
Is it okay to use third-party ink cartridges?
Third-party cartridges are less expensive, yet carry more risk. Some can leak, clog the print head, or cause spotty print quality. If you use them, stick to well-reviewed brands. For least problems and best results, genuine cartridges from the manufacturer are by far the safest choice.
What does it mean when my printer says the waste ink pad is full?
All inkjet printers soak up excess ink into a waste ink pad during cleaning cycles. Over time, this pad fills up. If it fills up completely, the printer temporarily stops working to prevent overflow. You can either reset the counter yourself (tools are available online for many models), or bring the printer to a repair shop to replace the pad.
How do I know if my printer rollers are worn out?
If your printer jams often, feeds multiple sheets at once, or pulls paper crookedly, the rollers are probably worn. Visual indicators include a shiny or smooth surface (rather than textured rubber) and cracks. Cleaning the rollers can sometimes help, but heavily worn rollers should be replaced.
Is it better to leave my printer on all the time, or turn it off between uses?
For inkjet printers, it’s actually preferred to turn them off between uses using the power button. This parks the print head so ink can’t dry. Laser printers are less sensitive to being left on, but turning them off when not in use saves energy and prolongs component life.
Keep Your Printer Healthy — Starting Now
Your printer is something you depend on. A little regular care goes a long way.
The 8 printer guide checks in this article are not complex. They don’t need tools or technical skills. They simply need a couple of minutes of your attention every month.
Start with the test page today. Look at the print quality. Check your ink levels. Remove any visible dust. That’s it for now. Build from there.
A well-maintained printer can last five to ten years. A neglected one might not survive two. The choice is yours — and now you have everything you need to make the right one.
Found this guide helpful? Bookmark it and check back next month for your regular printer check-in.