Meta Description: 4 Printer Quickly Cleaning Steps That Repaired My Printer Overnight — learn the very same procedure I took to regain perfect print quality fast.
Fix My Printer With This 4 Simple Steps Of Quick Guide Cleaning
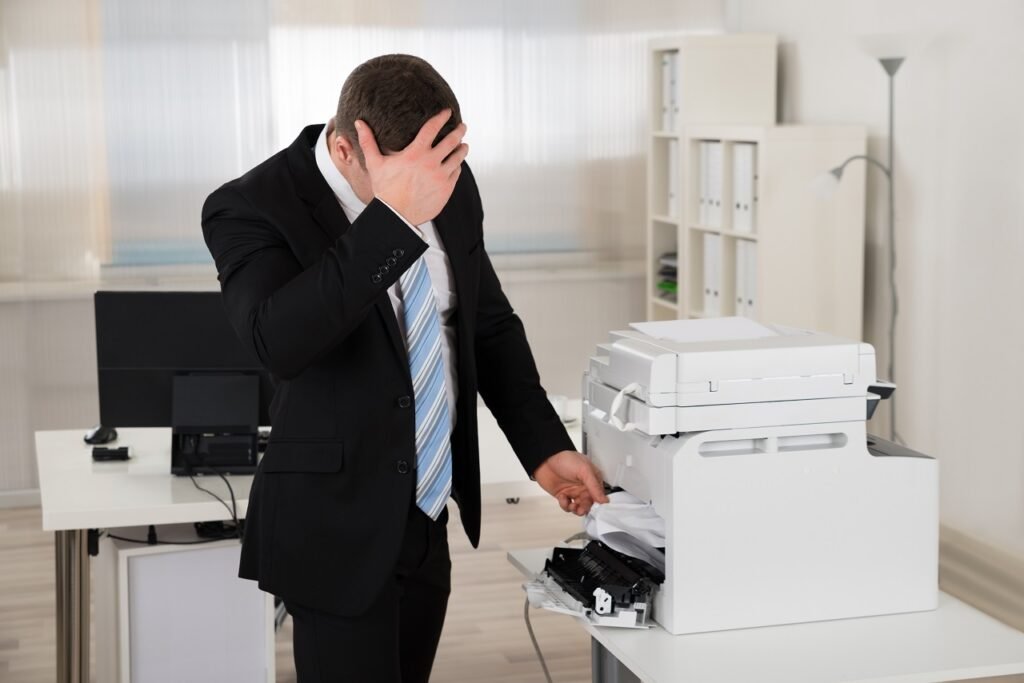
My printer was a mess. Streaky pages. Faded lines. Pages emerging as if they had been printed in a rainstorm.
I did everything I could think to do — restarted it, changed the ink, unplugged it and plugged it back in as if that would solve everything. Nothing worked.
Then I tripped across something obvious. Four cleaning steps for the printer guide specifically — that part most people never think to clean. Within an hour my printer was like new.
This guide can help if your prints look terrible and you have no idea why. I will step you through each individual thing I did, in plain English that anyone can follow.
Your Printer Guide Is Likely Part of the Trouble
Some people are just cleaning the visible things. They wipe clean the glass on the scanner. They swap out ink cartridges. They initiate the printer software’s built-in cleaning cycle.
But hardly anyone cleans the printer guide rails.
The guide rails are the long metal or plastic rods that support the print head and shift it from one side of the page to the other. These rails accumulate dust, dried ink, and debris over time. When that happens, the print head cannot slide smoothly. It skips. It stutters. It prints bent lines or leaves empty spaces.
This is one of the most common culprits behind bad print quality — and it’s among the easiest to correct.
Here’s a rough overview of how guide dirt impacts your output:
| Problem You See | Likely Cause |
|---|---|
| Horizontal streaks across the page | Dirty or dry guide rails |
| Uneven or wobbly text lines | Misaligned print head from debris |
| Faded sections in the middle of a page | Ink buildup on the guide carriage |
| Grinding or squeaking noises | Lack of lubrication on the rails |
| Print head stopping mid-print | Friction on the guide from gunk buildup |
If you’re experiencing any of these issues, read on. Here’s what you should try to fix them — in four steps.
Before Getting Started, You Will Need
Before you dive in, get a couple of basic supplies. Most of these items you already have at home.
- Lint-free cloths or cotton swabs
- Rubbing alcohol (preferably at least 90% strength)
- A can of compressed air
- White lithium grease or sewing machine oil (to lubricate)
- A flashlight (optional but helpful)
- Gloves (to avoid ink on your hands)
None of these are expensive. You can buy them at any pharmacy or hardware store. If you don’t already have them, total cost is typically less than $10.
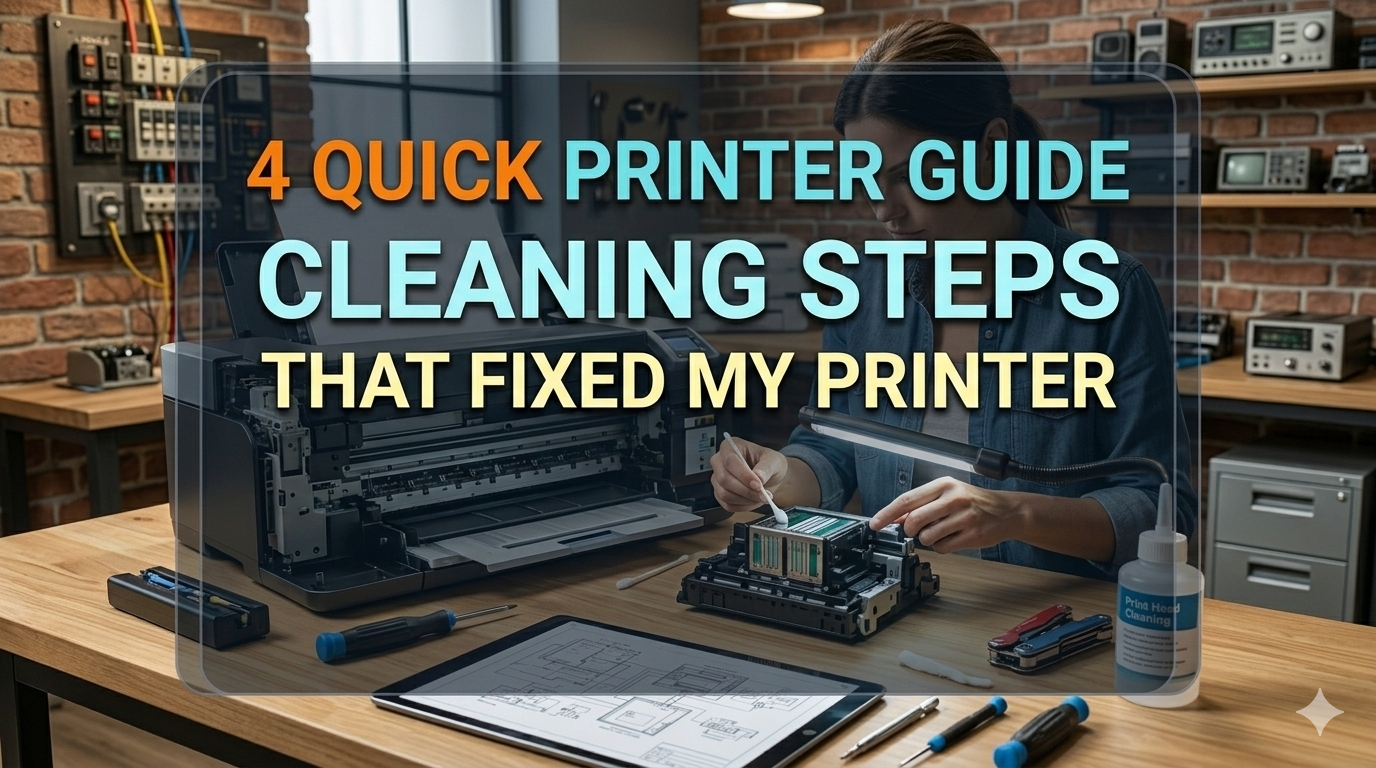
Step 1 — Turn It Off and Open It the Right Way
It sounds too simple to discuss, but screwing this part up can do actual damage.
Always Start With a Full Shutdown
Don’t just pause a print job. Don’t just close the lid. Power the printer totally off via the power button, then unplug it at the wall. Wait at least 60 seconds before opening anything.
This matters for two reasons.
First, it returns the print head to its home position (usually the far right). It provides you with more space to work. Second, it eliminates any electrical hazard when you’re working your way inside a machine.
Open the Right Panel
Most inkjet printers have a top-loading panel that lifts open to access the cartridge and print head area. Others have a front panel that drops down. If you’re not sure which way your printer opens, check the model.
Once you get inside, shine your flashlight and look around. You’re looking for the guide rail — it’s typically one (sometimes two) thin, horizontal rods that go all the way across your printer. The print head carriage rests on or near this rail and moves along it during printing.
Scan for visible buildup. Dust bunnies. Dark ink residue. Any gunk that shouldn’t be there.
Pro tip: Snap a picture of the inside before you start cleaning. That way you have a reference for how things should look when you are finished.
Step 2 — Blow Away the Dust Before You Touch Anything
Avoid the impulse to start wiping things down right away. If you do that first, you may be pushing loose dust and debris deeper into the machine.
Know How to Use Compressed Air Properly
Hold your can of compressed air upright — if you tilt it too much, liquid instead of air sprays out, which could damage internal components.
Spray short, controlled bursts in the guide rail area. Work from side to side. Give special attention to the areas around the wheels of the carriage and any grooves where the rail fits.
You will probably see a little puff of dust come out. That’s completely normal. That dust was slowing your print head down.
Also hit these places while you have the can out:
- The paper feed rollers (the rubber wheels that pull paper through)
- Vents on the sides or back of the printer
- The section directly beneath the print head carriage
Why This Step Matters So Much
When dust and paper fibers build up on metal rails, they are surprisingly abrasive. Even a thin layer creates friction. That friction makes the print head motor labor harder. Over time, that leads to skipping and misalignment — which shows up as streaks and gaps on your printed pages.
A single session with compressed air can displace months of built-up debris.
For more detailed guides on fixing common printer problems, check out Printer Troubleshoot Guide — a helpful resource covering all kinds of printer issues from streaks to paper jams.
Step 3 — Clean the Guide Rail Using Isopropyl Alcohol
Now it’s time to do the actual cleaning. This is the step that made the greatest impact for me.
Why Isopropyl Alcohol?
Isopropyl alcohol (IPA) dissolves dried ink and oil residue without leaving behind any moisture. It evaporates quickly and will not harm plastic or metal parts.
Do not use water. Water can corrode metal rails and cause rust. Do not use household cleaners either — many include chemicals that can harm internal printer parts.
Stick with IPA at 90% concentration or higher.
How to Clean the Rail
Dampen a lint-free cloth or a cotton swab with IPA. Don’t soak it — just enough to make it damp.
Slide the cloth along the entire length of the guide rail. Apply gentle pressure as you go. You’ll see the cloth picking up dark residue — that’s dried ink and grease buildup being stripped from the rail.
Repeat with new swabs or a fresh section of cloth until the rail looks shiny and clean. You’ll find a single horizontal rod in most printers. Some printers have two. Clean both.
While you’re at it, clean these areas too:
- The grooves or channels that the carriage wheels sit in
- The underside of the carriage (the side that touches the rail)
- The encoder strip — this is a thin transparent or semi-transparent strip that runs parallel to the guide rail. It tells the printer where the print head is located. Dirty encoder strips lead to positioning errors.
Cleaning the Encoder Strip
The encoder strip is delicate. Get a fresh cotton swab just barely damp with IPA. Wipe it very gently from one side to the other. Avoid bending or applying any pressure on it. Cleaning the encoder strip can have a hugely positive impact on print head accuracy.
Here’s a simple breakdown of what each component does and why cleaning it helps:
| Component | What It Does | Dirty Effects |
|---|---|---|
| Guide Rail | Supports and directs the print head | Head moves unevenly, causing streaks |
| Carriage Wheels | Help carriage glide smoothly | Increased friction, head stuttering |
| Encoder Strip | Tells printer position of head | Misaligned prints, wrong positioning |
| Paper Feed Rollers | Pull paper at the right speed | Paper jams, skewed prints |
According to iFixit’s printer repair guides, encoder strip contamination is one of the most frequently missed causes of inkjet print quality issues — yet one of the simplest to resolve with basic cleaning.
Step 4 — Apply Rail Lubrication and Test Your Results
Cleaning removes the gunk. But a clean, dry rail isn’t perfect either. Metal rails require a thin coat of lubrication to let the carriage glide smoothly without any friction.
What to Use for Lubrication
The two best options are:
- White lithium grease — a heavy-duty grease that stays in place and lasts a long time. Great for heavily used printers.
- Sewing machine oil — a lightweight oil that works well for moderate-use home printers.
Avoid WD-40. Despite its reputation, WD-40 is actually a solvent and moisture displacer — not a long-lasting lubricant. Over time, it will dry out and attract more dust.
How to Apply the Lubricant
Apply a very small amount — and I really mean small — on the guide rail. A drop the size of a pea is often more than enough.
Spread it evenly using a lint-free cloth along the entire length of the rail. Then move the print head carriage manually back and forth a few times to work the lubricant in evenly.
Wipe away any excess. You want only a thin, uniform coating — not a pool of grease sitting on the rail.
Reassemble and Make a Test Print
Reattach the printer panels. Plug the printer back in and turn it on.
Before doing any real printing, run the built-in cleaning cycle from your printer software. This helps re-prime the ink nozzles after the cleaning process.
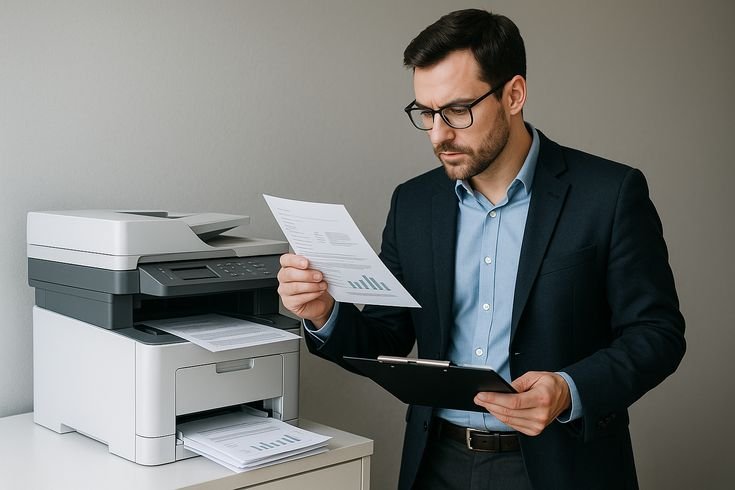
Then print a test page. Most printers have a test page option in their settings menu. Print one out and examine the results closely.
Signs that your cleaning worked:
- Clean, straight lines with no horizontal streaking
- Solid, full-width color coverage
- Extremely crisp and sharp text
- No grinding or squeaking noises while printing
If you still see faint streaks after the first test page, run one more cleaning cycle and print a second test. Sometimes it takes a second round before everything fully normalizes.
When Cleaning Alone Isn’t Enough
For the most part, these four steps will fully resolve the issue. But sometimes there’s something else happening.
Here are some indicators that your problem goes beyond guide cleaning:
- Streaks in the exact same spot every single page — This could be a damaged encoder strip or a defective print head.
- Grinding sound that does not go away — This could be a broken or bent carriage wheel.
- Error messages after cleaning — Some printers detect when internal parts are misaligned. Look up the specific error code online.
- Smearing rather than streaking — This is typically a fuser problem (for laser printers) or a wet ink issue (inkjet).
In these situations, it might be best to enlist a professional or consider manufacturer repair options.
How Often Should You Clean Your Printer?
Regular maintenance prevents these issues from piling up again. A simple schedule to follow:
| Frequency | Task |
|---|---|
| Every month | Run built-in software cleaning cycle |
| Every 3 months | Blow out internal dust with compressed air |
| Every 6 months | Full guide rail cleaning with IPA |
| Once a year | Re-lubricate the guide rail |
| As needed | Clean paper feed rollers if jams increase |
If you print heavily — more than 100 pages per week — cut those intervals in half.
Common Mistakes People Make When Cleaning Their Printer
Avoid these pitfalls. I made a few of them myself before learning the right way.
Using paper towels instead of lint-free cloths. Paper towels shed tiny fibers that can clog nozzles and cling to rails. Always use lint-free cloths or proper cotton swabs.
Over-lubricating the rail. More is not better here. Excess grease turns into a sludge of dust over time. A thin coat is all you need.
Skipping the encoder strip. That’s the step most tutorials don’t explain. A dirty encoder strip makes positioning erratic, and cleaning only the rail will not solve it.
Not waiting long enough after cleaning. IPA evaporates quickly, but leave a full 5–10 minutes before powering the printer back on. This ensures no moisture is left on metal parts.
Running the print head dry. After a cleaning cycle, always print a full test page before assuming the job is done. Let the printer tell you whether it was a success.
FAQs — Your Printer Guide Cleaning Questions Answered
What is a printer guide rail?
The guide rail is a horizontal rod (or pair of rods) located inside your inkjet printer, along which the print head carriage moves. It allows the print head to move precisely from one side of the page to the other during printing.
How do I know if my printer guide needs cleaning?
Common symptoms include horizontal streaks on printed pages, irregular line quality, grinding sounds when printing, and the print head stopping mid-print. All of that points to friction or debris on the guide rail.
Can I use WD-40 to lubricate the guide rail?
No. WD-40 is not a permanent lubricant. It breaks down fast, leaves a residue, and collects dust. Use white lithium grease or sewing machine oil instead.
Is it safe to clean the inside of my printer myself?
Yes, provided you turn the printer off and unplug it first. Use the proper materials (IPA, lint-free cloths, compressed air) and be delicate. Don’t touch electrical components or bend any fragile elements like the encoder strip.
Does this also fix laser printers?
These steps apply to inkjet printers, which have a moving print head on a guide rail. Laser printers operate on a different principle — a drum and fuser system. If you own a laser printer, the cleaning procedure differs.
How long does the entire cleaning process take?
For the average person, all four steps can be completed in 30 to 60 minutes, including drying time. It’s a job that pays dividends for months.
My printer still has streaks after cleaning. What now?
Try running the built-in nozzle cleaning cycle two or three times. Print a test page after each cycle. If streaks continue, the print head itself may need professional cleaning or replacement.
Wrapping It All Up
I’ll be frank — I nearly purchased a new printer before trying this.
My prints were so bad I thought the machine was done. But four easy steps later, it was working fine again. No new parts. No repair shop. Just a little time, some inexpensive supplies, and the right process.
The 4 quick printer guide cleaning steps come down to this: turn it off properly, blow out the dust, clean the rail and encoder strip with isopropyl alcohol, and finish with a thin coat of lubricant.
That’s it. That’s the fix.
If you’ve been putting up with bad print quality, try this before spending money on anything else. Your printer is probably not broken — it’s just dirty.