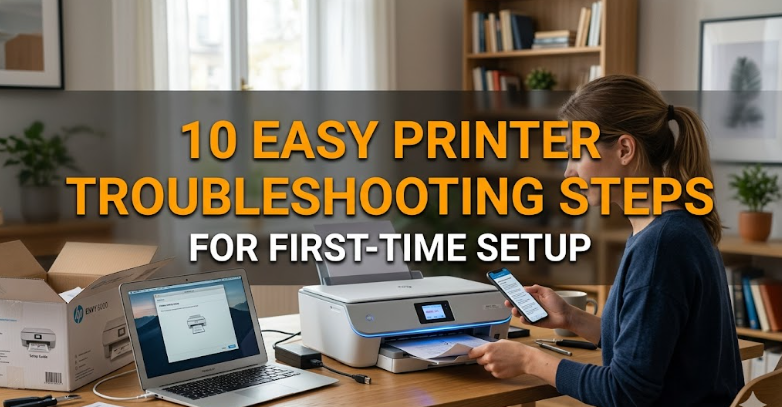
10 Easy Printer Troubleshooting Steps for First-Time Setup
Setting up a printer for the first time often looks simple on the box, but in real life it can quickly turn into a mix of blinking lights, driver errors, connection issues, and confusion about what cable goes where. Many people assume that modern printers are completely “plug and play,” but even the latest models still require a bit of careful setup to work smoothly.
The good news is that most first-time printer problems are not serious faults. They usually come from small setup mistakes, skipped steps, or connection mismatches. Once you understand what to check and in what order, troubleshooting becomes much easier and less stressful.
This guide walks through 10 practical troubleshooting steps designed specifically for first-time printer setup. Each step is written to help you identify issues early and fix them without needing technical support.
Step 1: Unbox and inspect everything carefully
Before plugging anything in, take a moment to properly unbox the printer and check all included items. This step is often rushed, but it is where many setup issues begin.
Inside the box, you should typically find the printer unit, power cable, ink or toner cartridges, setup guide, and sometimes a USB cable. Some models also include sample paper or a driver CD, although many now rely on online downloads.
Carefully inspect the printer for protective tapes or plastic locks. Manufacturers usually secure moving parts like the cartridge holder and paper tray with bright-colored tape. If these are not removed, the printer may show errors or refuse to operate.
Another important check is physical damage. While rare, shipping can sometimes affect alignment or cause loose components. Gently open all compartments and ensure everything feels secure.
At this stage, also verify the model number matches what you purchased. This matters because drivers and setup instructions differ between models, even within the same brand.
Skipping inspection may not seem serious, but it often leads to avoidable problems later such as paper jams, cartridge errors, or startup failure.
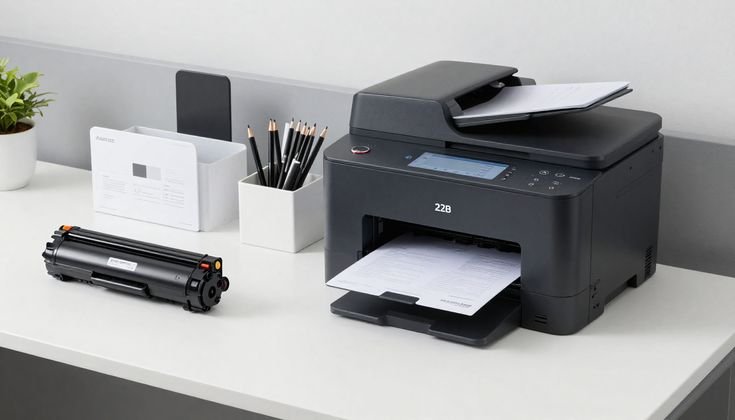
Step 2: Place the printer on a stable surface and prepare power setup
Where you place your printer matters more than most people think. A shaky table or uneven surface can lead to printing errors, misalignment, and even paper feeding problems.
Choose a flat, stable surface with enough space around it for ventilation and paper handling. Printers generate heat during operation, and blocking airflow can reduce performance over time.
Next, connect the power cable directly to a wall socket if possible. Avoid using loose extension cords or overloaded power strips during initial setup. A weak power connection can cause random shutdowns or startup errors.
Before turning the printer on, ensure the voltage matches your region’s supply. Most modern printers support dual voltage, but it is still worth confirming on the label near the power port.
Once plugged in, do not press multiple buttons randomly. Instead, allow the printer to complete its initial power cycle. Many first-time users interrupt this process, which can lead to incomplete initialization.
If the printer does not power on, recheck the cable connection and try a different outlet before assuming a hardware fault.
Step 3: Install ink or toner cartridges correctly
Cartridge installation is one of the most common first-time setup issues. Even a small misalignment can cause your printer to display errors or refuse to print.
Open the cartridge compartment and wait for the holder to move into position. Do not force it manually. Once it stops, insert each cartridge into its correct slot, usually color-coded or labeled (black, cyan, magenta, yellow).
Make sure each cartridge clicks into place. A loose cartridge may not be detected by the printer. If your printer uses ink tanks instead of cartridges, fill them carefully up to the marked level without overfilling.
After installation, close the compartment securely. Many printers will not proceed with setup unless the cover is fully closed.
If you see an “ink not recognized” or “cartridge error” message, remove the cartridge and reinstall it. Sometimes protective plastic caps are accidentally left on, which blocks ink flow.
Allow the printer a few minutes to initialize ink detection before moving to the next step.
Step 4: Load paper properly in the tray
Paper loading might seem straightforward, but incorrect placement is a major cause of first-time printing issues.
Start by adjusting the paper guides in the tray. These guides should lightly touch the edges of the paper stack without bending it. Loose or overly tight guides can cause paper jams or misfeeds.
Use standard A4 or Letter size paper for setup testing. Avoid curled, damp, or dusty sheets during initial configuration.
Place the paper neatly aligned in the tray, ensuring it is not overloaded. Most printers have a maximum paper limit line—do not exceed it.
After loading, gently push the tray back into place until it clicks. Some printers require confirmation on the display screen that paper has been loaded correctly.
If your printer shows a “no paper” error even after loading, remove the stack and reload it carefully. Misalignment is usually the cause.
Step 5: Power on and allow full initialization
Once hardware setup is complete, turn on the printer and let it go through its full startup process.
Modern printers perform internal checks such as ink detection, printhead alignment, and sensor calibration. This can take a few minutes, and interrupting it can lead to setup errors.
During this phase, you may hear mechanical sounds. This is normal as the printer positions its internal components.
Do not attempt to print anything yet. Wait until the printer shows a “ready” status or stops moving internally.
If the printer gets stuck on a blinking light or error display, note the pattern. Different blink sequences often indicate specific issues like paper jam, cartridge error, or cover open.
Restart the printer if necessary, but always allow a full cycle before making assumptions about malfunction.
Step 6: Install printer drivers on your device
Without proper drivers, your computer cannot communicate correctly with the printer.
Most modern printers support automatic driver installation when connected via USB or Wi-Fi. However, relying on automatic setup alone is not always reliable.
Visit the manufacturer’s official website and search for your exact printer model. Download the latest driver compatible with your operating system.
Install the software and follow the on-screen instructions. This may include selecting connection type (USB, Wi-Fi, or network).
During installation, avoid switching cables or turning off the printer. Interruptions can corrupt driver setup.
Once installed, your system should detect the printer and display it as “ready.” If not, restart both computer and printer before trying again.
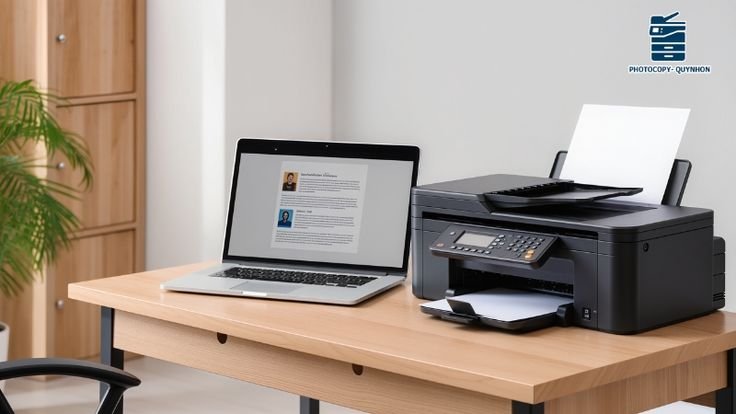
Step 7: Connect printer to Wi-Fi or USB correctly
Connection issues are among the most common first-time setup problems.
If using USB, ensure the cable is firmly connected to both the printer and computer. Try a different USB port if the printer is not detected.
For wireless setup, connect the printer to the same Wi-Fi network as your device. Many printers have a built-in display for selecting networks and entering passwords.
If the connection fails, check the following:
- Wi-Fi password accuracy
- Network frequency compatibility (2.4GHz is commonly required)
- Distance between router and printer
Restarting the router can also help resolve temporary connection issues.
Once connected, print a network configuration page to confirm successful setup.
Step 8: Run a test print and alignment check
After setup, always perform a test print. This helps confirm that hardware, drivers, and connection are all working correctly.
Most printers have a “Test Page” option in settings or software. Print it and check for:
- Clear text quality
- Proper color alignment
- No streaks or missing lines
If the print looks misaligned, run the printer’s alignment tool. This is especially important for inkjet printers.
Alignment ensures that ink is placed correctly on paper and prevents blurry or double images.
If the test print fails, recheck ink levels, cartridge installation, and paper loading.
Step 9: Fix common error messages during setup
First-time printers often display errors such as:
- Paper jam
- Cartridge not detected
- Offline status
- Driver not found
Each error usually has a simple fix.
For paper jams, gently remove stuck paper without tearing it. For cartridge issues, reinstall ink properly.
If the printer shows offline status, check connection settings and ensure it is set as default printer on your device.
Driver issues often require reinstalling software or restarting the system.
Do not ignore error messages. They are designed to guide you toward the exact problem area.
Step 10: Update firmware and finalize setup
Once everything is working, check if firmware updates are available. Firmware is the internal software of your printer that controls performance and compatibility.
Manufacturers release updates to fix bugs, improve speed, and enhance connectivity.
You can usually update firmware through the printer software or official website.
After updating, restart the printer and perform one final test print.
At this stage, your printer should be fully functional and stable for regular use.
Final thoughts
First-time printer setup problems may seem overwhelming, but most issues come from small overlooked details rather than serious faults. When you follow a structured approach, each problem becomes easier to isolate and fix.
The key is patience and checking each step carefully instead of rushing through the setup. Once properly configured, most modern printers run smoothly for a long time with minimal issues.
FAQs
Why is my printer not turning on during first setup?
Check the power cable, wall socket, and ensure the outlet is working. Also verify the printer’s internal power switch if available.
Why is my computer not detecting the printer?
This usually happens due to driver issues or incorrect USB/Wi-Fi connection. Reinstall drivers and restart both devices.
What should I do if my printer shows a cartridge error?
Remove the cartridge and reinstall it properly. Ensure all protective seals are removed before installation.
Why does my printer say paper jam when there is no paper stuck?
Even a small torn piece of paper inside rollers can trigger this error. Carefully inspect internal pathways.
Do I need internet for printer setup?
Not always. USB printers work offline, but Wi-Fi printers require internet only for wireless setup and updates.
How often should I update printer firmware?
Occasionally, especially when experiencing performance issues or when new updates are released by the manufacturer.