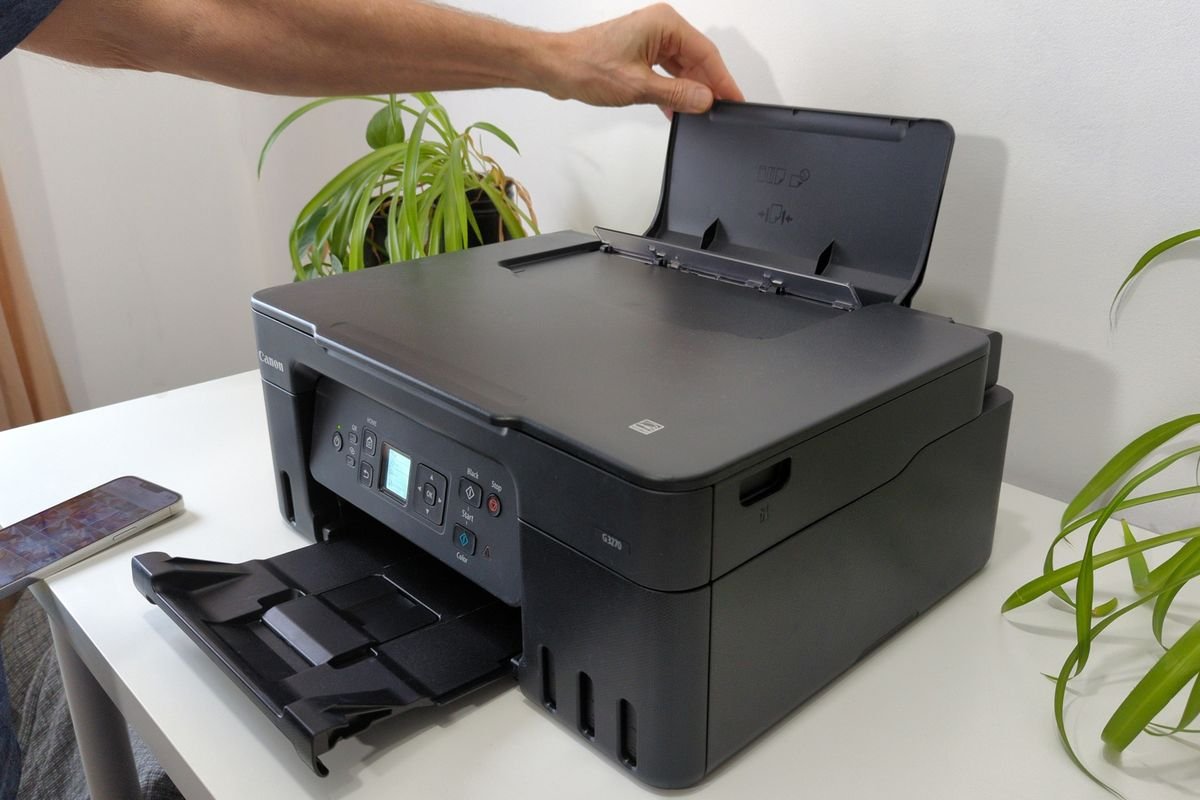
Okay, real talk — the last time I set up a new printer, I spent almost two hours going back and forth between my laptop, the router, and the printer itself. Two hours. For something that supposedly takes “just minutes” according to the box it came in. The setup wizard crashed twice, Windows kept showing the printer as offline, and at one point I genuinely considered just emailing documents to a print shop down the street.
If that sounds familiar, you’re not alone.
Setting up a printer — whether it’s your first one or you’re switching to a new model — is one of those tasks that looks simple until it isn’t. But after going through enough of these myself (and helping a few family members do the same), I’ve figured out the tricks that actually make the process smooth. Not the generic stuff you find in a 10-page manual. Real, practical tips that save you the frustration.
Here’s what actually works.
1. Check Your Basics Before You Even Plug Anything In
Most people (including past me) make the mistake of jumping straight into driver installation before doing a few quick checks. You’d be surprised how many “technical” problems are actually caused by something ridiculously simple.
Before you start, run through this quick checklist:
| Check | Why It Matters |
|---|---|
| Printer is fully unboxed | Protective tape inside can jam rollers |
| Power cable is properly seated | Loose cables cause intermittent issues |
| Ink/toner cartridges are installed | Printer won’t initialize without them |
| Paper is loaded correctly | Misaligned paper causes immediate errors |
| USB or Wi-Fi mode is selected | Mixed signals confuse the setup wizard |
Sounds obvious, right? But I once spent 45 minutes troubleshooting a “driver error” that turned out to be a small piece of orange protective tape still stuck inside the cartridge bay. The printer just couldn’t move the print head. Lesson learned the hard way.
Also — and this one trips people up — if you’re setting up wirelessly, make sure your phone or laptop is connected to the 2.4GHz band, not 5GHz. Most budget and mid-range printers only support 2.4GHz Wi-Fi. Your router might broadcast both, and if your device is on 5GHz while the printer looks for 2.4GHz, they’ll never find each other.
2. Download Drivers Directly From the Manufacturer’s Website
This is probably the single biggest tip I can give you.
When Windows (or even macOS) “automatically” detects your printer and installs a generic driver, it works… sometimes. But that generic driver often misses features like duplex printing, ink level monitoring, or scan functions. Worse, it can cause weird errors that are nearly impossible to diagnose.
Every major printer brand has a dedicated support page:
- HP: support.hp.com
- Canon: usa.canon.com/support
- Epson: epson.com/support
- Brother: support.brother.com
Go there, type in your exact model number (it’s on a sticker on the bottom or back of the printer), and download the full driver package — not just the “basic driver.”
Here’s the step-by-step I follow every time:
- Unplug the USB cable (if you’re using one) before installing the driver
- Run the downloaded installer
- When it asks how you want to connect — USB or wireless — choose your method then
- Let the installer guide the connection, rather than doing it manually yourself
- Only plug in the USB when the installer specifically tells you to
Following the installer’s order of operations matters more than most people realize. Plugging in the USB too early confuses the driver installation and can result in a half-installed driver that causes printer connection problems down the line.
3. For Wireless Setup, Give Your Printer a Static IP Address
Here’s something I didn’t know for years: by default, your router assigns your printer a new IP address every time it reconnects to the network. This is called DHCP — Dynamic Host Configuration Protocol. It’s how most devices work.
The problem? When your printer gets a new IP address, your computer might lose track of it. You’ll wake up one morning, try to print something, and suddenly the printer is “offline” even though it’s sitting right there, connected to the same Wi-Fi.
The fix is to assign your printer a static (fixed) IP address — one that never changes.
How to do it (without needing to be a networking expert):
- Find your printer’s current IP address — usually in the printer’s own network settings menu, or by printing a “Network Configuration Page” (most printers have this option in their settings)
- Log into your router (usually by typing 192.168.1.1 or 192.168.0.1 into your browser)
- Look for a section called DHCP Reservation or Address Reservation
- Add your printer’s MAC address (also on that network config page) and assign it a fixed IP
- Save and restart both the router and the printer
After doing this, I genuinely haven’t had a single “printer offline” issue at home. It takes about 10 minutes to set up once, and you never have to think about it again.
If you’re constantly battling wireless printer setup problems, this one change alone will likely solve 80% of them.
4. Clear the Print Spooler If Things Get Stuck
Ever sent a document to print, nothing happens, and then every document you try to print after that also goes nowhere? That’s almost always a print spooler problem.
The print spooler is a Windows service that manages the queue of print jobs. Sometimes it gets corrupted or stuck — especially if a previous print job failed mid-way. And once it’s stuck, nothing prints until you clear it.
Here’s the quickest way to fix it:
Method 1 — Through Services (Most Reliable):
- Press
Windows + R, typeservices.msc, hit Enter - Scroll down to Print Spooler, right-click it, and choose Stop
- Open File Explorer and navigate to:
C:\Windows\System32\spool\PRINTERS - Delete everything inside that folder (don’t delete the folder itself — just the files inside)
- Go back to Services, right-click Print Spooler again, and choose Start
- Try printing again
Method 2 — Quick Command Prompt Fix:
Open Command Prompt as Administrator and run these three commands one by one:
net stop spooler
del /Q /F /S "%systemroot%\System32\spool\PRINTERS\*.*"
net start spooler
Both methods do the same thing. I keep the command prompt version saved in a notes app because it’s faster when I’m in a hurry.
This fix works for most Windows print queue issues — stuck jobs, printer showing “error” status, documents disappearing from the queue without printing, and similar oddities. Here’s a more detailed look at fixing printer spooler problems if you want to go deeper.

5. Run the Printer’s Built-In Diagnostic Tools First
Before calling support or spending an hour Googling error codes, check whether your printer has its own diagnostic tools. Most modern printers do, and they’re actually useful.
On the printer itself: Many printers — especially HP and Epson models — have a built-in “Print Quality Diagnostic” page you can print directly from the printer’s menu. This page shows you whether the print heads are clogged, whether all ink colors are working, and whether the alignment is off. It’s the fastest way to know if the issue is hardware-related versus software-related.
Using HP Smart, Canon PRINT, or Epson iPrint apps: These manufacturer apps (available for free on iOS, Android, and sometimes Windows) have built-in troubleshooters that walk you through common issues step-by-step. HP Smart in particular is genuinely good — it can detect your printer automatically over Wi-Fi, check for driver updates, and run diagnostic tests all from one interface.
Windows Printer Troubleshooter: Go to Settings → System → Troubleshoot → Other Troubleshooters → Printer. It’s not magic, but it catches about 30–40% of common issues automatically — things like spooler restarts, driver conflicts, and connectivity checks.
Here’s a quick comparison of what each tool is best at:
| Tool | Best For | Available On |
|---|---|---|
| Printer’s built-in diagnostics | Print quality, hardware checks | Directly on printer |
| HP Smart / Canon PRINT / Epson iPrint | Full setup, Wi-Fi, ink levels | iOS, Android, Windows |
| Windows Troubleshooter | Driver and spooler issues | Windows 10/11 |
| Manufacturer support website | Model-specific error codes | Web browser |
Common Mistakes That Make Setup Take Way Longer Than It Should
Since I’ve been through this process more times than I’d like to admit, here are the mistakes I see (and have made) most often:
Installing the driver before connecting to Wi-Fi If you’re setting up wirelessly, your printer needs to be on your Wi-Fi network before you install the driver on your computer. The installer needs to find the printer on the network during installation.
Ignoring firmware updates Your printer has firmware — basically its own internal software. Outdated firmware causes compatibility problems with newer operating systems. Check for firmware updates in the manufacturer’s app or support site after initial setup.
Using a USB hub instead of a direct port If you’re connecting via USB, plug directly into your computer, not through a USB hub. Hubs introduce power and communication issues that can make the printer appear as undetected.
Not restarting after driver installation Sounds basic, but plenty of people skip the restart after installing drivers. Some components don’t fully activate until the system restarts.
Giving up on Wi-Fi and switching to USB too quickly Wireless connection issues are almost always fixable. The most common culprits are the 2.4GHz vs 5GHz band issue mentioned earlier, a firewall blocking the connection, or the printer not being fully through its boot process yet. Give it 2–3 minutes after powering on before trying to connect.
A Quick Note on Mac vs. Windows Setup
Mac users generally have an easier time — macOS includes AirPrint support, which works with most modern printers without needing any drivers at all. Just add the printer through System Settings → Printers & Scanners, and macOS usually handles the rest.
Windows users have more control but also more things that can go wrong. Windows 11 in particular has changed how it handles printer driver installation — it now prefers “Type 4” drivers from the Microsoft Store over traditional driver packages. If your manufacturer’s driver isn’t available through Windows Update, you might need to install it in compatibility mode.
The Bottom Line
Setting up a printer doesn’t have to be an afternoon project. The five things that make the biggest difference are: starting with the basics (unboxing properly, right Wi-Fi band), getting drivers directly from the manufacturer, locking in a static IP for your wireless printer, knowing how to clear a stuck print spooler, and using the diagnostic tools that are already available to you.
Most printer setup headaches come from skipping one of these steps — not from anything fundamentally broken with the printer. Once you’ve been through the process a couple of times with these tips in mind, it genuinely does start taking minutes instead of hours.
If you’re dealing with a situation where your printer shows as offline even after setup, this guide on fixing the printer offline error walks through the exact steps to get it back online — worth bookmarking for the next time it happens.