
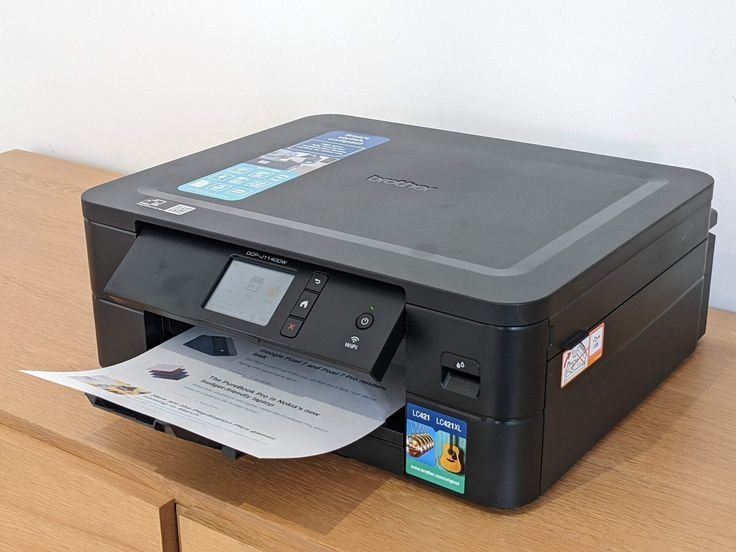
Let me tell you something embarrassing. I once spent three hours trying to print a single document for a job application. Three hours. The printer was sitting right there, plugged in, powered on, apparently doing everything it was supposed to do — and yet absolutely nothing came out. I restarted it four times, reinstalled the driver twice, and at one point genuinely considered just going to a print shop at midnight.
That was two years ago. Since then, I’ve learned more about printer troubleshooting than I ever wanted to know. And honestly? Most printer problems are way simpler to fix than manufacturers make them seem. You just need to know where to look.
Here are the seven tips that actually worked for me — no fluff, no generic advice you’ve already Googled.
1. Stop Blaming the Printer First — Check the Connection
I know this sounds obvious, but hear me out. The first time my HP DeskJet refused to print, I assumed the printer was broken. Spent an hour looking up firmware updates. Turns out? The USB cable had a loose connection at the back of the printer. A tiny wiggle and suddenly it was printing like a champ.
Whether you’re on USB or Wi-Fi, the connection is almost always the first thing to verify properly — not just glance at.
For USB printers:
- Unplug and replug the cable from both ends (computer AND printer)
- Try a different USB port on your computer
- If possible, swap the cable entirely — cheap USB cables go bad more often than you’d think
For wireless printers:
- Make sure the printer is connected to the same Wi-Fi network as your computer (2.4GHz vs 5GHz mixups are surprisingly common)
- Restart your router, then your printer — in that order
- Check if your printer has a network status page you can print directly (most HP, Canon, and Epson models do)
One thing that helped me massively was printing a Network Configuration Page directly from the printer’s control panel. It shows the IP address, connection status, and signal strength. Once I saw my printer had a weak signal from across the house, I just moved it closer to the router — problem solved.
If you’re dealing with Wi-Fi-related headaches, this guide on 9 Fast Printer Guide Fixes When Your Printer Won’t Connect has some solid extra steps worth checking out.
2. Clear the Print Queue — It’s Probably Stuck
This one got me embarrassed in front of a coworker once. I kept sending print jobs and nothing was happening. Turns out there were 11 queued documents from previous failed attempts, and the printer was just… waiting there, confused.
A stuck print queue is one of the most common reasons a printer shows as “ready” but doesn’t print anything.
Here’s how to clear it on Windows:
- Open Settings → Bluetooth & Devices → Printers & Scanners
- Click your printer → Open print queue
- Select all jobs and hit Cancel
- If they won’t cancel, you need to stop the Print Spooler service:
- Press Win + R, type
services.msc, hit Enter - Find Print Spooler, right-click → Stop
- Navigate to
C:\Windows\System32\spool\PRINTERSand delete everything inside the folder (not the folder itself) - Go back to Services and Start the Print Spooler again
- Press Win + R, type
On Mac:
- Go to System Settings → Printers & Scanners
- Click the printer → Open Print Queue
- Delete all pending jobs
After doing this, I’d say 40% of my “printer not printing” issues just… vanished. No driver reinstall needed.
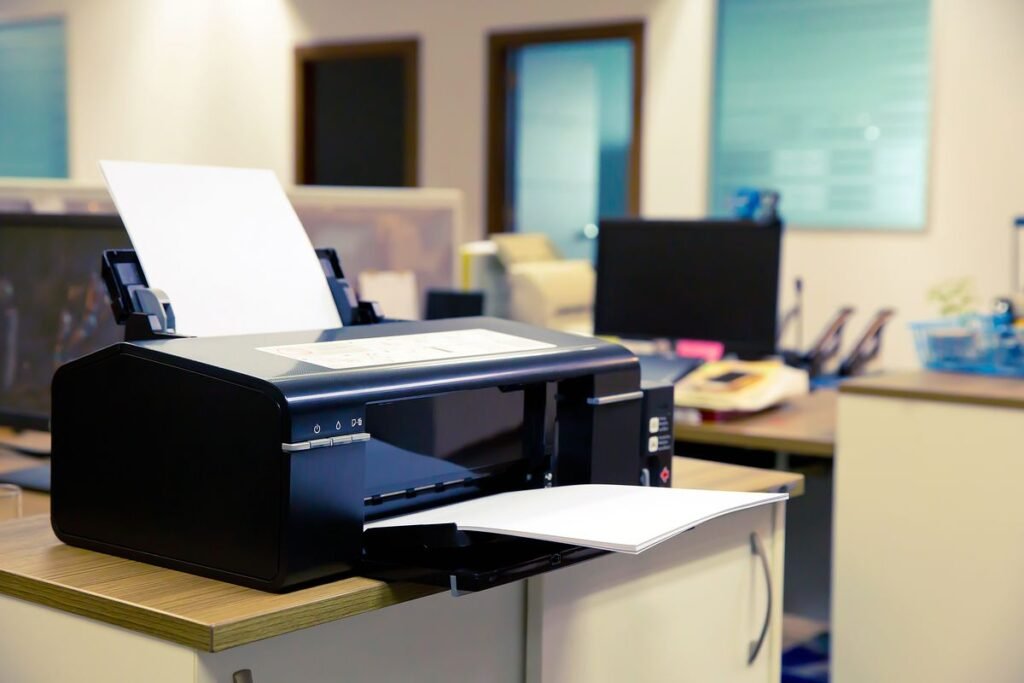
3. Update (or Reinstall) the Driver — But Do It the Right Way
Here’s a mistake I made early on: I would go to Windows Update, see “driver updates available,” install them, and assume I was done. Nope.
Generic Windows drivers and manufacturer-specific drivers are very different things. The generic ones get your printer working at a basic level. The manufacturer drivers unlock all the features — duplex printing, quality settings, ink level monitoring, etc.
The right way to update drivers:
| Method | Best For | Risk Level |
|---|---|---|
| Manufacturer website (HP, Canon, Epson) | Most accurate and complete | Low |
| Windows Update | Quick fix, basic functionality | Low |
| Third-party driver tools | Convenient but risky | Medium-High |
| Device Manager auto-search | Often finds outdated versions | Low-Medium |
I always go straight to the manufacturer’s website now. For HP, it’s hp.com/support. Canon has canon.com/support. Just type in your exact model number and download the full feature driver package.
One time I reinstalled a driver and things got worse — the printer started showing as offline after every restart. The fix was to completely uninstall the old driver first using the manufacturer’s uninstaller tool, not just through Device Manager. That made a big difference.
For a deeper dive into driver-specific fixes, 4 Easy Printer Guide Methods to Install Printer Drivers Correctly walks through the process really clearly.
4. The “Printer Offline” Problem Has One Fix Nobody Talks About
At some point, my Canon PIXMA started showing “Offline” every single morning even though nothing had changed. Restarting the printer fixed it temporarily, but it kept coming back.
The actual culprit? Windows was assigning a different IP address to the printer every time it reconnected to the network. The computer remembered the old IP, the printer had a new one — they couldn’t find each other.
The fix that actually stuck:
Step 1: Print a network configuration page from your printer (look in the settings/menu on the printer itself).
Step 2: Log into your router (usually 192.168.1.1 or 192.168.0.1 in your browser).
Step 3: Find the DHCP settings and assign a static/reserved IP to your printer using its MAC address (shown on that network page).
Step 4: Go to Printers & Scanners on your computer, delete the printer, and re-add it using its IP address directly instead of auto-discovery.
Since doing this, I haven’t seen “Printer Offline” once. It felt overly technical at first, but it’s genuinely a 15-minute fix that saves hours of frustration every week.
There’s also a simpler short-term fix: go to your printer in Windows, click “See what’s printing”, then in the top menu, uncheck “Use Printer Offline.” But this is a band-aid — the IP fix is the real solution.
5. Paper Jams Are Usually About the Paper, Not the Printer
I used to think paper jams meant something was mechanically wrong. Nope. 90% of my paper jams were caused by one of three things:
- Paper that was slightly damp (sitting out too long or in a humid room)
- Mixed paper sizes in the tray (accidentally leaving an A5 sheet under A4 pages)
- Overfilling the tray (yes, there’s a max fill line, and yes, I ignored it)
Quick jam-clearing process:
- Turn off the printer first — don’t yank paper while it’s running
- Open every access panel (rear door, front panel, everything)
- Pull paper out slowly and in the direction of paper travel (forward, not backward)
- Use a flashlight to check for tiny torn pieces — even a small scrap left behind will cause the next jam
- Fan your paper stack before loading to prevent pages sticking together
Something I didn’t expect: my printer started jamming a lot more after I switched to a cheaper paper brand. Switched back to a mid-range brand and the jams basically stopped. Paper quality genuinely matters.
6. Print Quality Problems Are Almost Always Fixable Without a New Cartridge
Streaky prints, faded text, weird lines across the page — I used to immediately assume the ink was empty. Half the time it wasn’t.
Most inkjet printers have a printhead cleaning utility built right into the driver software. This is your first stop before buying new ink.
On Windows:
- Open your printer software (from the taskbar or Start menu)
- Look for Maintenance, Tools, or Utility tab
- Run Print Head Cleaning or Nozzle Check
On Mac:
- System Settings → Printers & Scanners → your printer → Options & Supplies → Utility tab → Open Printer Utility
Run the nozzle check first — it prints a pattern showing exactly which nozzles are clogged. Then run cleaning one or two times. If it doesn’t improve after two cleaning cycles, wait 30 minutes before running a third (running too many back-to-back wastes a lot of ink).
| Print Quality Issue | Most Likely Cause | First Fix to Try |
|---|---|---|
| Faded text | Low ink or clogged nozzle | Nozzle check + cleaning |
| Horizontal lines | Clogged printhead | Head cleaning utility |
| Wrong colors | Incorrect paper setting | Change media type in driver |
| Blurry/smeared | Wrong paper type | Use correct paper + let dry |
| Blank pages | Completely empty cart or nozzle blockage | Check ink levels first |
One thing that genuinely surprised me: leaving the printer unused for weeks causes the ink to dry in the nozzles. Since I started printing at least one test page every couple of weeks, my print quality has stayed consistently good without any cleaning cycles.
For more on this, check out 8 Secret Printer Guide Settings That Improve Print Quality Instantly.
7. When All Else Fails — The Factory Reset Nobody Wants to Do
I resisted doing a factory reset on my printer for a long time because it sounded drastic. But after a firmware update completely broke my Epson EcoTank’s wireless functionality, it was the only thing that worked.
A factory reset clears all saved settings — Wi-Fi passwords, custom configurations, everything — and brings the printer back to how it was out of the box. It sounds scary but it takes about 10 minutes to set everything back up.
How to factory reset (general process — check your manual for exact steps):
- HP printers: Hold the wireless button and cancel button together for 3 seconds, or go through the printer’s control panel under Settings → Restore Defaults
- Epson printers: Settings → Restore Default Settings → All Settings
- Canon printers: Setup → Device Settings → Reset Settings
After the reset, go through the setup process like it’s brand new. Reconnect to Wi-Fi, reinstall the driver on your computer, and test print.
I’ll be honest — after doing this, my Epson went from frustrating me daily to working perfectly for months. Sometimes you just need a clean slate.
Common Mistakes I Made (So You Don’t Have To)
- Restarting the computer but not the printer. Both need a restart. Always.
- Installing drivers without uninstalling the old ones first. This creates conflicts.
- Ignoring Windows Firewall as a possible culprit. It can block printer communication on shared networks.
- Buying new ink before cleaning the printhead. Run maintenance first.
- Not checking if the printer is set as the default printer. Documents can silently route to a different (offline) printer.
A Quick Diagnostic Checklist
Before you spend hours troubleshooting, run through this in under 5 minutes:
✅ Is the printer powered on and showing “Ready”? ✅ Is the correct printer selected in your print dialog? ✅ Is the print queue empty? ✅ Is the USB cable secure OR is the printer on the right Wi-Fi network? ✅ Are the ink/toner levels acceptable? ✅ Have you restarted both devices?
If you answered yes to all of these and it still won’t print, then it’s time to dig into drivers, spooler issues, or network settings.
Printer problems used to genuinely ruin my mornings. Now I can usually fix whatever comes up in 10–15 minutes because I know which things to check and in what order. The honest truth is that most printer issues are software or connection problems — not hardware failures. Your printer is probably fine. It just needs a little patience and the right fix.
If you’re dealing with a specific error that’s driving you crazy, this breakdown of 10 Ultimate Printer Troubleshooting Tips That Actually Work is worth bookmarking for the next time something goes sideways.