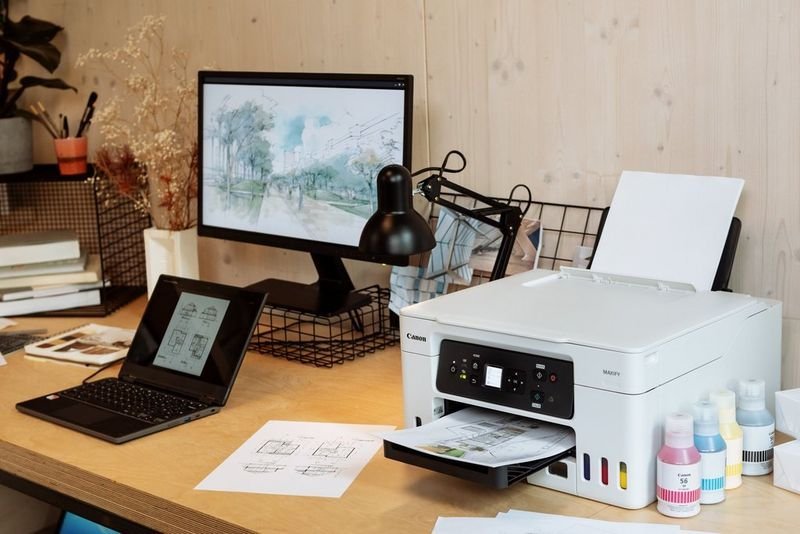
Let me be honest with you — the first time I set up a printer on my own, I spent nearly three hours on something that should have taken twenty minutes. The box said “easy setup,” the manufacturer’s website had a cheerful step-by-step guide, and yet there I was, staring at a blinking orange light with absolutely no idea what it meant.
If you’re setting up your first printer and things aren’t going the way the manual promised, you’re not alone. Most first-timers hit the same invisible walls. The good news? Almost every problem has a fix — and once you know what to look for, you’ll never waste three hours on a printer again.
Here’s everything I wish someone had told me before I tore open that box.
1. Unbox Smart — Don’t Just Rip Everything Out
I know the excitement is real. New gadget, fresh packaging — you just want to get it running. But rushing through unboxing is the number one cause of early setup headaches.
Before you plug anything in, do this:
- Remove all protective tape and foam inserts (including inside the paper tray — yes, there’s usually tape in there too)
- Check the box for a setup CD or printed quick-start guide
- Count the cables that came included — most modern printers only include a power cable, not a USB cable
- Look for the cartridges — some printers have them pre-installed, others ship them separately in a small pouch
One of my friends skipped removing the tape from the cartridge area and then spent 45 minutes wondering why her prints came out completely blank. That little orange or pink pull-tab on the ink cartridge? Pull it off before installing. Always.
2. Install the Right Driver — Not Just “Any” Driver
This one trips up almost everyone. You go to your printer manufacturer’s website, search your model, and download the first thing that comes up. Then nothing works properly.
Here’s what you actually need to do:
Step 1: Identify your exact printer model (it’s printed on a sticker on the front or bottom of the printer).
Step 2: Go directly to the official manufacturer site — HP, Canon, Epson, Brother, etc.
Step 3: Select your operating system correctly. Windows 10 and Windows 11 drivers are sometimes different. Same with macOS versions.
Step 4: Download the full feature driver, not the basic one. The basic driver lets you print. The full driver gives you scanning, ink level monitoring, and maintenance tools.
Step 5: Run the installer with administrator privileges (right-click → Run as Administrator on Windows).
I once downloaded a Windows 10 driver on a Windows 11 machine and kept getting random spooler errors. Took me a full day to figure that out. Don’t make my mistake — double-check the OS version before downloading anything.
If your printer isn’t being detected at all during driver installation, you might find these 5 quick printer guide fixes for printer not detected issues really helpful before you continue.
3. Wireless Setup Is Trickier Than It Looks — Here’s the Trick
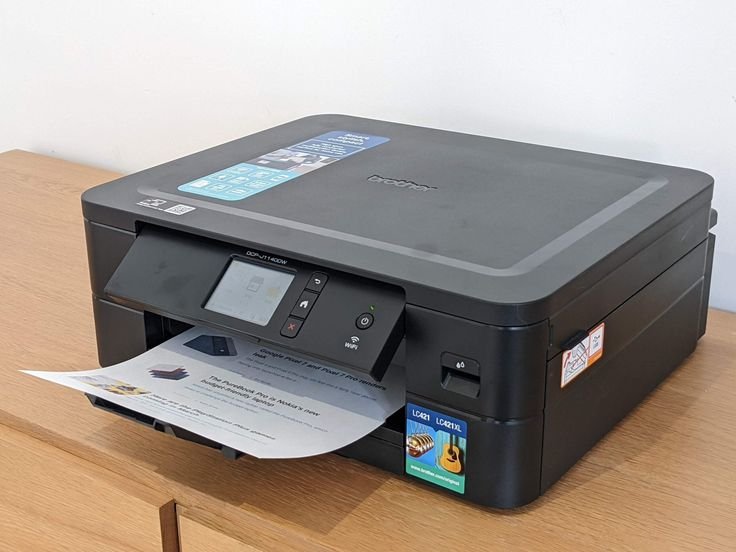
Wireless printing is convenient, but it’s also where most first-timers get stuck. The printer appears to connect to the Wi-Fi, you complete the setup wizard, and then… it still shows as “offline” on your computer.
Here’s a clean process that actually works:
| Step | What to Do | Why It Matters |
|---|---|---|
| 1 | Connect printer to 2.4 GHz Wi-Fi, not 5 GHz | Most printers don’t support 5 GHz bands |
| 2 | Make sure your phone/PC is on the same network | Cross-network printing doesn’t work |
| 3 | Assign a static IP to the printer via your router | Prevents IP address changes after restarts |
| 4 | Disable VPN before setup | VPNs can block printer discovery |
| 5 | Run the printer’s built-in wireless setup wizard | More reliable than doing it through the PC |
The 2.4 GHz vs 5 GHz issue is something almost nobody talks about. Your router probably broadcasts both, and your laptop automatically connects to the faster 5 GHz band. But many mid-range printers only support 2.4 GHz. If your phone can see the printer but your laptop can’t, check which band each device is on.
4. The Printer Spooler Is Your Hidden Enemy (And How to Beat It)
If you’re on Windows and your print jobs are just sitting there doing nothing, welcome to the Print Spooler problem. This is a background service that manages print jobs, and it loves to crash at the worst possible moment.
Here’s how to fix it quickly:
- Press Windows + R, type
services.msc, hit Enter - Scroll down to Print Spooler
- Right-click → Stop
- Open File Explorer and go to
C:\Windows\System32\spool\PRINTERS - Delete everything inside that folder (not the folder itself)
- Go back to Services → right-click Print Spooler → Start
- Try printing again
This clears out any stuck jobs that were blocking new ones. I’ve had to do this more times than I’d like to admit, especially after Windows updates that seem to enjoy breaking printer settings.
5. Paper Jams on a Brand-New Printer? Here’s Why
Getting a paper jam on a printer you just unboxed feels unfair. But it’s surprisingly common, and it’s almost never a defect. Here’s what usually causes it:
Wrong paper type: Most standard home printers are designed for 75–90 GSM paper. If you’re loading heavy cardstock or glossy photo paper without adjusting the paper type settings, jams are almost guaranteed.
Overfilling the tray: There’s a max fill line on the tray for a reason. Going above it causes sheets to feed unevenly.
Paper not aligned properly: The side guides in the tray need to be snug (but not tight) against the paper stack.
Static in the paper: Brand new reams of paper can have static buildup. Gently fan the stack before loading.
Here’s a quick table of common paper settings and when to use them:
| Paper Type | GSM Range | Tray Setting to Select |
|---|---|---|
| Standard copy paper | 75–90 GSM | Plain Paper |
| Brochure/Glossy | 120–170 GSM | Glossy / Photo Paper |
| Envelopes | Varies | Envelope Mode |
| Labels | Varies | Labels |
| Cardstock | 160–200 GSM | Heavy / Cardstock |
Getting this right upfront saves you from a lot of frustrating jams down the line.
6. “Printer Not Responding” — What It Actually Means
When Windows tells you the printer isn’t responding, it usually means one of three things:
- The printer is set to offline mode (yes, you can accidentally do this)
- There’s a stuck job in the queue
- The communication between printer and PC broke somewhere
Here’s a fast checklist to run through:
- ✅ Is the printer physically turned on?
- ✅ Is it connected — USB or Wi-Fi — and is that connection stable?
- ✅ Go to Devices and Printers, right-click your printer → See what’s printing → Is there a stuck job?
- ✅ Right-click the printer → Set as Default Printer (sometimes it switches to Microsoft Print to PDF on its own)
- ✅ Right-click → Printer Properties → Print Test Page — does this work?
If the test page prints but your document won’t, the issue is with the document itself (try printing from a different app). If the test page fails, it’s a driver or connection issue.
For connection-specific issues, this article on 11 smart printer guide tips to fix connection errors has some genuinely useful fixes I’ve personally verified.
7. Don’t Skip the Test Print — And Know What to Look For
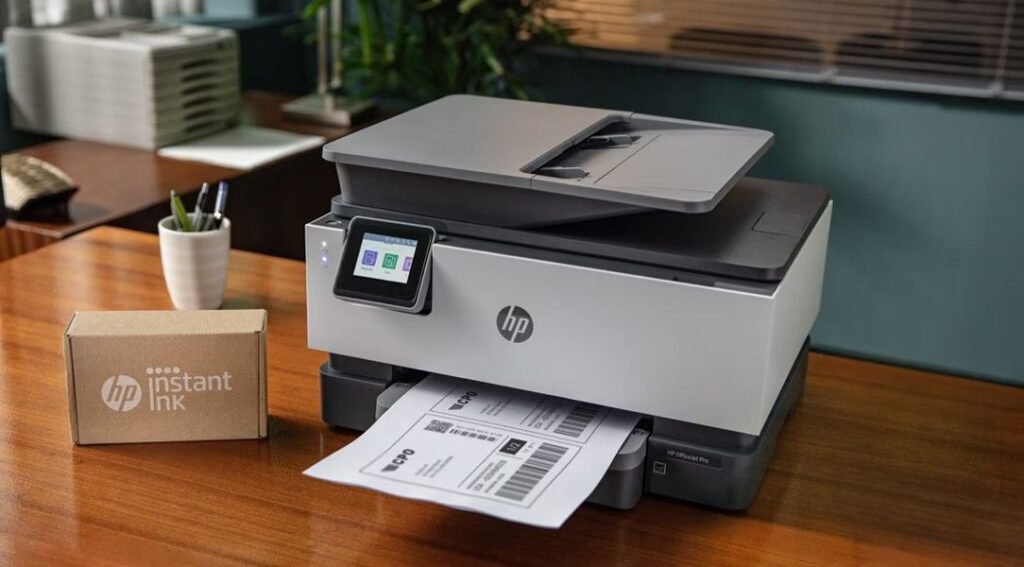
Every printer has a built-in test print function. Most people skip this and go straight to printing a real document. That’s a mistake.
The test print tells you:
- Whether all ink/toner cartridges are properly seated
- Whether the print heads are clogged or misaligned
- Whether the paper feed is working correctly
- The current ink levels (on most models)
How to print a test page (works on most printers):
- On the printer: Hold the power button + one other button (usually the Wi-Fi or cancel button) for 3–5 seconds. Check your manual for your specific model.
- On Windows: Devices and Printers → right-click your printer → Printer Properties → Print Test Page
- On Mac: System Settings → Printers & Scanners → select your printer → Print Test Page
If the test page looks good — clean lines, full colors, no streaks — your printer is working correctly and any issues are software-side. If it looks bad, you’ve got a hardware or cartridge issue to deal with before anything else.
8. The Mistakes Most First-Timers Make (So You Don’t Have To)
Let me just be real here. After helping several friends and family members set up their first printers, I’ve seen the same mistakes come up again and again. Here’s a quick rundown so you can avoid them entirely:
❌ Installing the driver before connecting the printer Most driver installers will ask you to connect the printer at a specific step. Connect it too early and the OS might install a generic driver instead of the correct one.
❌ Using a cheap USB cable If you’re setting up via USB, use the cable that came with the printer or a quality certified cable. Cheap, off-brand USB cables cause intermittent connection issues that are nearly impossible to diagnose.
❌ Not updating the printer firmware After initial setup, go to the printer’s settings menu or the manufacturer’s app and check for firmware updates. Updated firmware often fixes connectivity bugs and improves performance.
❌ Ignoring the printer’s IP address If your printer connects via Wi-Fi, print a network configuration page (usually through the printer’s settings menu). Note down the IP address. You might need it later to access the printer’s web interface or re-add it manually.
❌ Setting it up once and never touching the settings again Default settings are not always optimal. Changing the default print quality to “Standard” instead of “Best” can dramatically reduce ink usage without a visible difference in everyday documents.
Speaking of maintaining your setup and preventing issues from creeping back in, these 10 smart printer guide maintenance habits that extend printer life are worth bookmarking once you’re up and running.
A Quick Reference: Setup Checklist for First-Timers
| Task | Done? |
|---|---|
| Removed all packaging tape (including inside tray) | ☐ |
| Installed correct driver for your exact OS version | ☐ |
| Connected to 2.4 GHz Wi-Fi (not 5 GHz) | ☐ |
| Assigned static IP via router settings | ☐ |
| Ran test print from printer and from PC | ☐ |
| Updated printer firmware | ☐ |
| Set as default printer in OS settings | ☐ |
| Loaded paper correctly within fill line | ☐ |
| Selected correct paper type in print settings | ☐ |
Print this out (ironic, I know) or save it somewhere you can refer back to the next time you’re setting up a printer for yourself or someone else.
Final Thoughts
Setting up a printer for the first time doesn’t have to be a frustrating experience — it just requires knowing which steps actually matter and which ones you can skip. Most problems people run into aren’t hardware failures. They’re small configuration issues, driver mismatches, or simple things like tape that wasn’t removed.
Once you’ve done it right the first time, it genuinely gets faster and easier every time after that. And now that you know what to look out for, you’ll be the person your friends and family call when they can’t figure out why their printer isn’t working.
That’s honestly not a bad position to be in.
Also worth reading: 9 Proven Printer Troubleshooting Tips for Better Performance — some of these tips go deeper into long-term performance optimization that pairs well with what we’ve covered here.