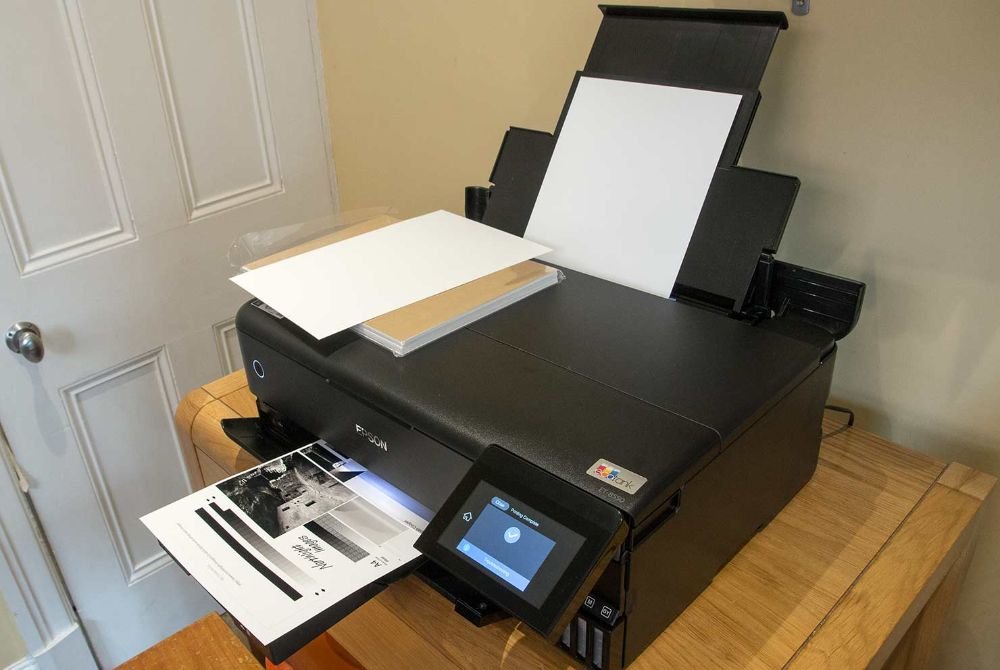
Let me be honest with you — the first time I set up a printer on my own, I spent nearly three hours on something that should have taken twenty minutes. The printer was sitting there, box freshly opened, and I was completely convinced I’d done everything right. Cables plugged in. Power on. And yet… nothing. My laptop acted like the printer didn’t even exist.
If you’re reading this before setting up your first printer, you’re already ahead of where I was. And if you’re reading this because your printer just refused to cooperate — don’t worry, I’ve been exactly there.
Here’s what I’ve learned through trial, frustration, and a few accidental fixes that somehow worked.
1. Unbox Everything Before You Do Anything
This sounds obvious, but you’d be surprised. Most first-timers (including past me) rush to plug things in before fully unboxing. Inside that box, there are usually protective tapes, foam inserts, and sometimes a small orange tab inside the cartridge area that must be removed before the printer works properly.
I once spent 45 minutes thinking my HP DeskJet had a hardware fault, only to find a plastic tab stuck between the ink cartridges. The printer manual — which I’ll admit I hadn’t read — had a full-page warning about it.
Quick checklist before powering on:
- Remove all packing tape (inside and outside)
- Pull out any foam or cardboard inserts from the paper tray
- Open the cartridge bay and remove any protective tabs or orange clips
- Check that the ink cartridges are properly seated and clicked in
Trust me, this five-minute check saves an hour of head-scratching later.
2. Install the Right Driver — Not Just Any Driver
Here’s where a lot of people go wrong. They plug in the USB cable, Windows says “installing driver,” and they assume that’s enough. Sometimes it is. But a lot of the time, the generic driver Windows installs is bare-bones — it’ll print, but you lose access to scanner settings, duplex printing, ink level displays, and other features.
Always go to the manufacturer’s official website and download the full driver package for your exact model.
For example:
- HP printers → support.hp.com
- Canon printers → usa.canon.com/support
- Epson → epson.com/support
- Brother → support.brother.com
Type in your exact model number (it’s usually on a sticker at the bottom or back of the printer). Download the “Full Feature Software and Driver” — not just the basic driver.
If you’re on Windows 11, some older printers have compatibility issues. In that case, try running the installer in compatibility mode (right-click the installer → Properties → Compatibility tab → Windows 10).
3. Choose: USB First, Wireless Later
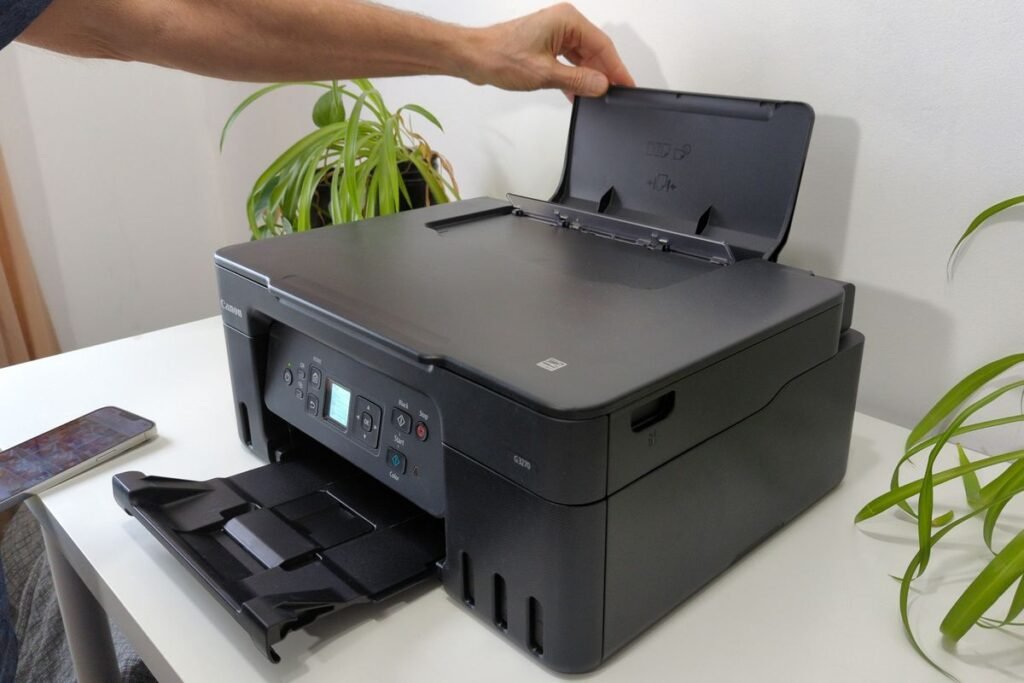
I know wireless printing sounds cooler, and yes, eventually you’ll want it. But if you’re setting up a printer for the first time, start with USB. Get it working in the most basic way possible, confirm it prints correctly, and then switch to Wi-Fi setup.
Why? Because if something goes wrong during wireless setup, you won’t know if the issue is the printer itself or the network configuration. USB removes that variable entirely.
Once you’re confident the printer works:
- Open the printer’s built-in menu (most modern printers have a small screen)
- Go to Network Settings → Wireless Setup Wizard
- Select your Wi-Fi network and enter the password
- Print a “Network Configuration Page” from the settings menu — this confirms the connection
Then, on your computer, go to Settings → Printers & Scanners → Add a Printer and let it discover the printer over Wi-Fi.
Want more detail on this? 6 Powerful Printer Guide Tips for Wireless Printer Setup walks through this really clearly.
4. Pay Attention to the IP Address Situation
This one tripped me up badly when I moved my router to a different room. Wireless printers get assigned an IP address by your router. The problem is, this address can change — and when it does, your computer suddenly can’t find the printer anymore.
The fix is setting a static IP address for your printer so it always stays the same.
Here’s how to do it:
Step 1: Find your printer’s current IP. You can print a “Wireless Network Test Report” from the printer’s settings, or check your router’s connected devices list.
Step 2: Access your router’s admin panel (usually 192.168.1.1 or 192.168.0.1 in your browser).
Step 3: Find the DHCP settings or “Address Reservation” section and assign a fixed IP to your printer’s MAC address (also shown on the network test report).
This one-time setup will save you from scratching your head every few weeks wondering why the printer “disappeared.”
5. The Print Spooler Is Your Hidden Enemy (Sometimes)
The Print Spooler is a Windows service that manages print jobs. When it gets corrupted or stuck — which happens more often than it should — your printer will just refuse to respond. No error messages, nothing in the queue, just silence.
Here’s how to reset it:
- Press Windows + R, type
services.msc, press Enter - Scroll down to Print Spooler, right-click → Stop
- Navigate to
C:\Windows\System32\spool\PRINTERSand delete everything inside that folder (don’t delete the folder itself) - Go back to Services, right-click Print Spooler → Start
- Try printing again
This fix sounds more technical than it is. If you can copy-paste a folder path, you can do this. I’ve had to do it at least four or five times over the years across different computers, and it works almost every time.
For more on this specific issue, 8 Proven Printer Guide Fixes for Printer Spooler Problems has a really solid breakdown.
6. Test Print Immediately — Don’t Wait Until You Need It
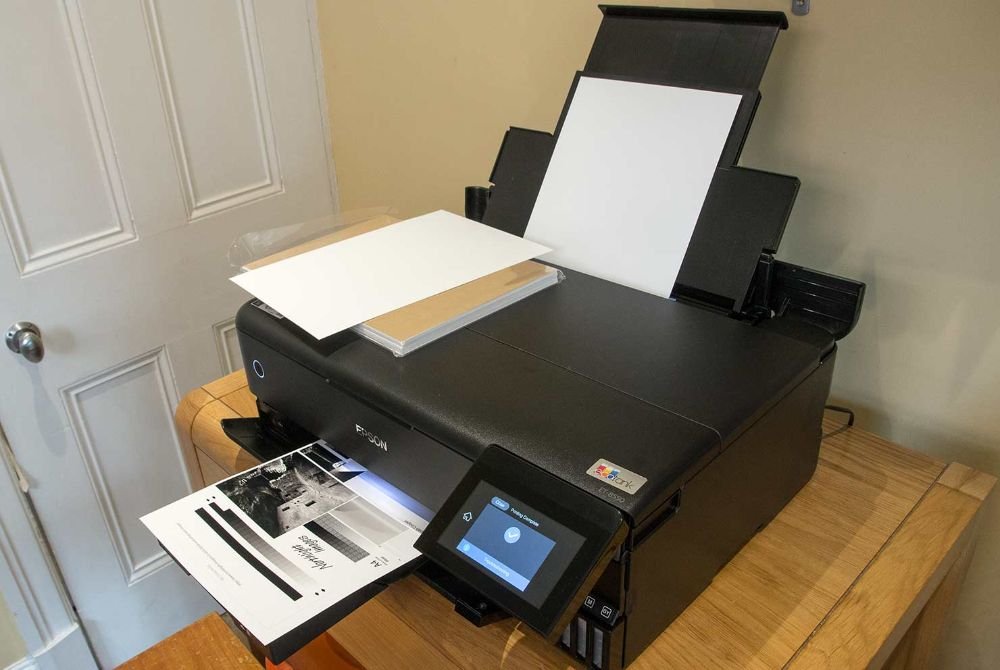
This is probably the most practical advice I can give. After setup, print a test page right away. Don’t wait until you urgently need to print something to find out the ink is dry, the alignment is off, or the Wi-Fi dropped.
Here’s what to test:
| Test Type | What to Look For |
|---|---|
| Plain text document | Is font crisp? Any missing lines? |
| Color image | Are colors accurate? Any streaks? |
| Alignment page | From printer settings, check nozzle alignment |
| Scan test (if applicable) | Does the scanned image appear on your PC? |
If you notice streaking or faded patches on the test print, run a Print Head Cleaning cycle from the printer’s maintenance settings. Most inkjet printers have this option built in.
Do this the same day you set up the printer. Ink cartridges can dry out partially if the printer sits unused for a while — cleaning the heads right after setup primes everything properly.
7. Common Mistakes First-Timers Make (And How to Avoid Them)
I’ve made most of these myself, so this comes from lived experience, not a manual.
Mistake #1: Connecting to the wrong Wi-Fi band
Most modern routers broadcast two networks — 2.4GHz and 5GHz. Many printers only support 2.4GHz. If your phone auto-connected your printer setup to the 5GHz band, it might show as connected but won’t actually work. Always check which band your printer supports.
Mistake #2: Installing drivers from random third-party sites
Just don’t. I once downloaded a “universal printer driver” from some sketchy site that came bundled with three different toolbars and changed my browser homepage. Go directly to the manufacturer. Always.
Mistake #3: Skipping the firmware update
Most people don’t know that printers have firmware — software that runs on the printer itself. After initial setup, check the manufacturer’s website or the printer’s own settings menu for firmware updates. A single update once fixed a USB connection bug on my Canon that I’d been fighting with for days.
Mistake #4: Ignoring the test print results
I’ve seen people look at a streaky, half-faded test print and go “yeah, that’s fine.” It’s not fine. If the first print looks off, fix it now — not after you’ve printed 200 important documents.
Mistake #5: Not writing down the printer’s IP and settings
Take a photo of the network configuration page. Screenshot the driver version. You’ll thank yourself later when you need to troubleshoot or reinstall after a Windows update.
8. What to Do If Nothing Works After All This
Okay, you’ve done everything right and the printer still won’t cooperate. Before you consider throwing it through a window, here are a few last-resort steps that have genuinely saved me:
Run the built-in troubleshooter: Windows has a built-in printer troubleshooter that’s actually decent. Go to Settings → System → Troubleshoot → Other Troubleshooters → Printer. It catches about 40% of issues automatically.
Remove and re-add the printer: Go to Settings → Printers & Scanners, click on your printer, remove it, then add it again fresh. Sometimes the software connection just gets corrupted.
Try a different USB cable or port: USB cables go bad, especially the shorter, thinner ones. Borrow a different cable or try plugging into a different USB port on your computer. This has solved “the printer isn’t detected” issue for me more than once.
Check the firewall: If you’re on a corporate network or have third-party antivirus software, it might be blocking the printer’s communication. Temporarily disable the firewall, test the connection, and then add the printer as an exception if that was the issue.
Factory reset the printer: Most printers have a factory reset option in the settings menu. This clears all network settings and lets you start completely fresh. If all else fails, this is your nuclear option before calling support.
For connection issues specifically, 11 Smart Printer Guide Tips to Fix Connection Errors has some really detailed steps that go beyond the basics.
A Quick Comparison: USB vs. Wireless Setup
| Factor | USB Setup | Wireless Setup |
|---|---|---|
| Ease of setup | Very easy | Moderate |
| Reliability | High | Can vary |
| Distance from printer | Limited by cable | Flexible |
| Multiple device printing | One computer | All devices on network |
| Best for | First-time setup | Daily home/office use |
| Common issues | Cable faults | IP changes, Wi-Fi drops |
Final Thoughts
Setting up a printer for the first time is one of those things that seems like it should be simple — and honestly, it can be, if you know what to watch out for. The mistakes I’ve described above aren’t rare edge cases. They happen to most people the first time around.
The big takeaway: go slow, start with USB, install the proper driver, and test everything before you need it urgently. Printers are reliable machines when they’re set up correctly. The chaos usually happens in that first hour.
And if you’re still running into issues after all of this, don’t assume the printer is broken. Nine times out of ten, it’s a software or settings issue that has a fix.
Also worth reading: 10 Ultimate Printer Troubleshooting Tips That Actually Work — a solid round-up of fixes that work across most printer brands and models, great to bookmark for later.